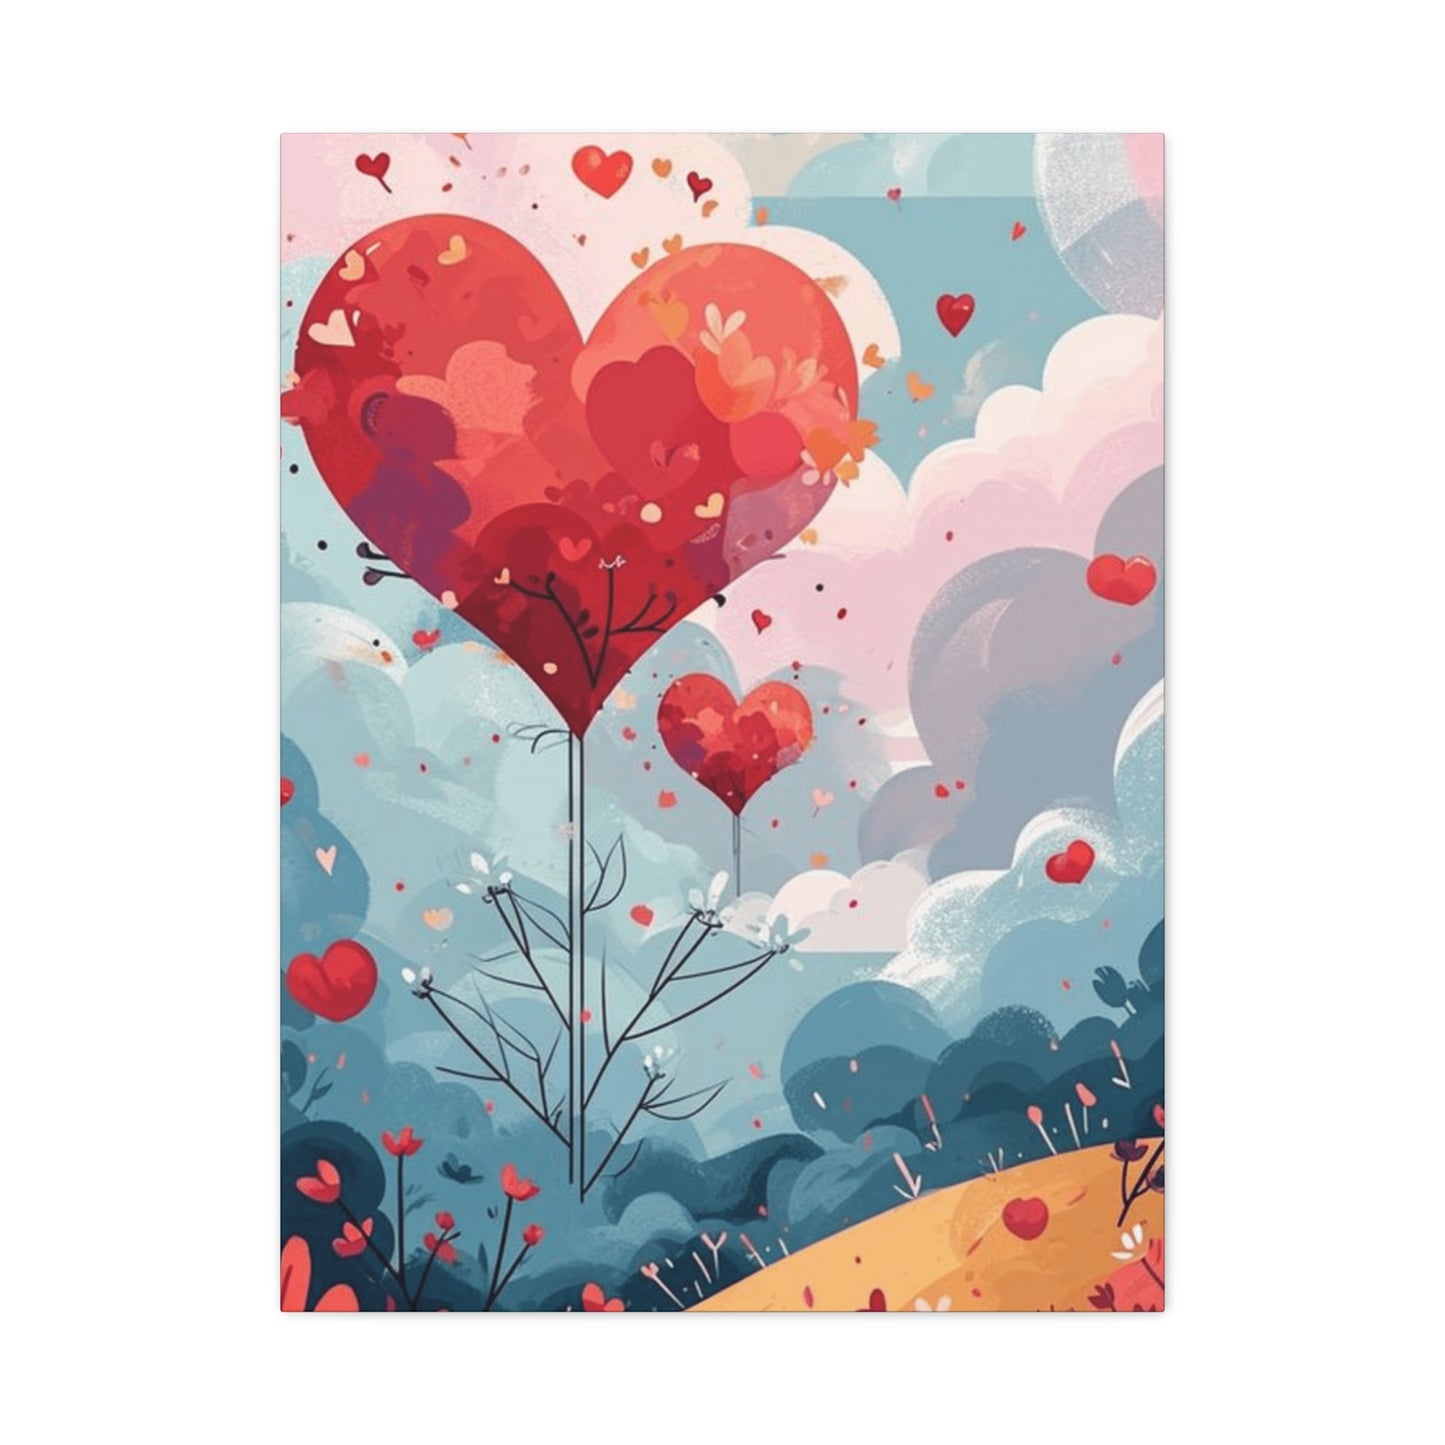
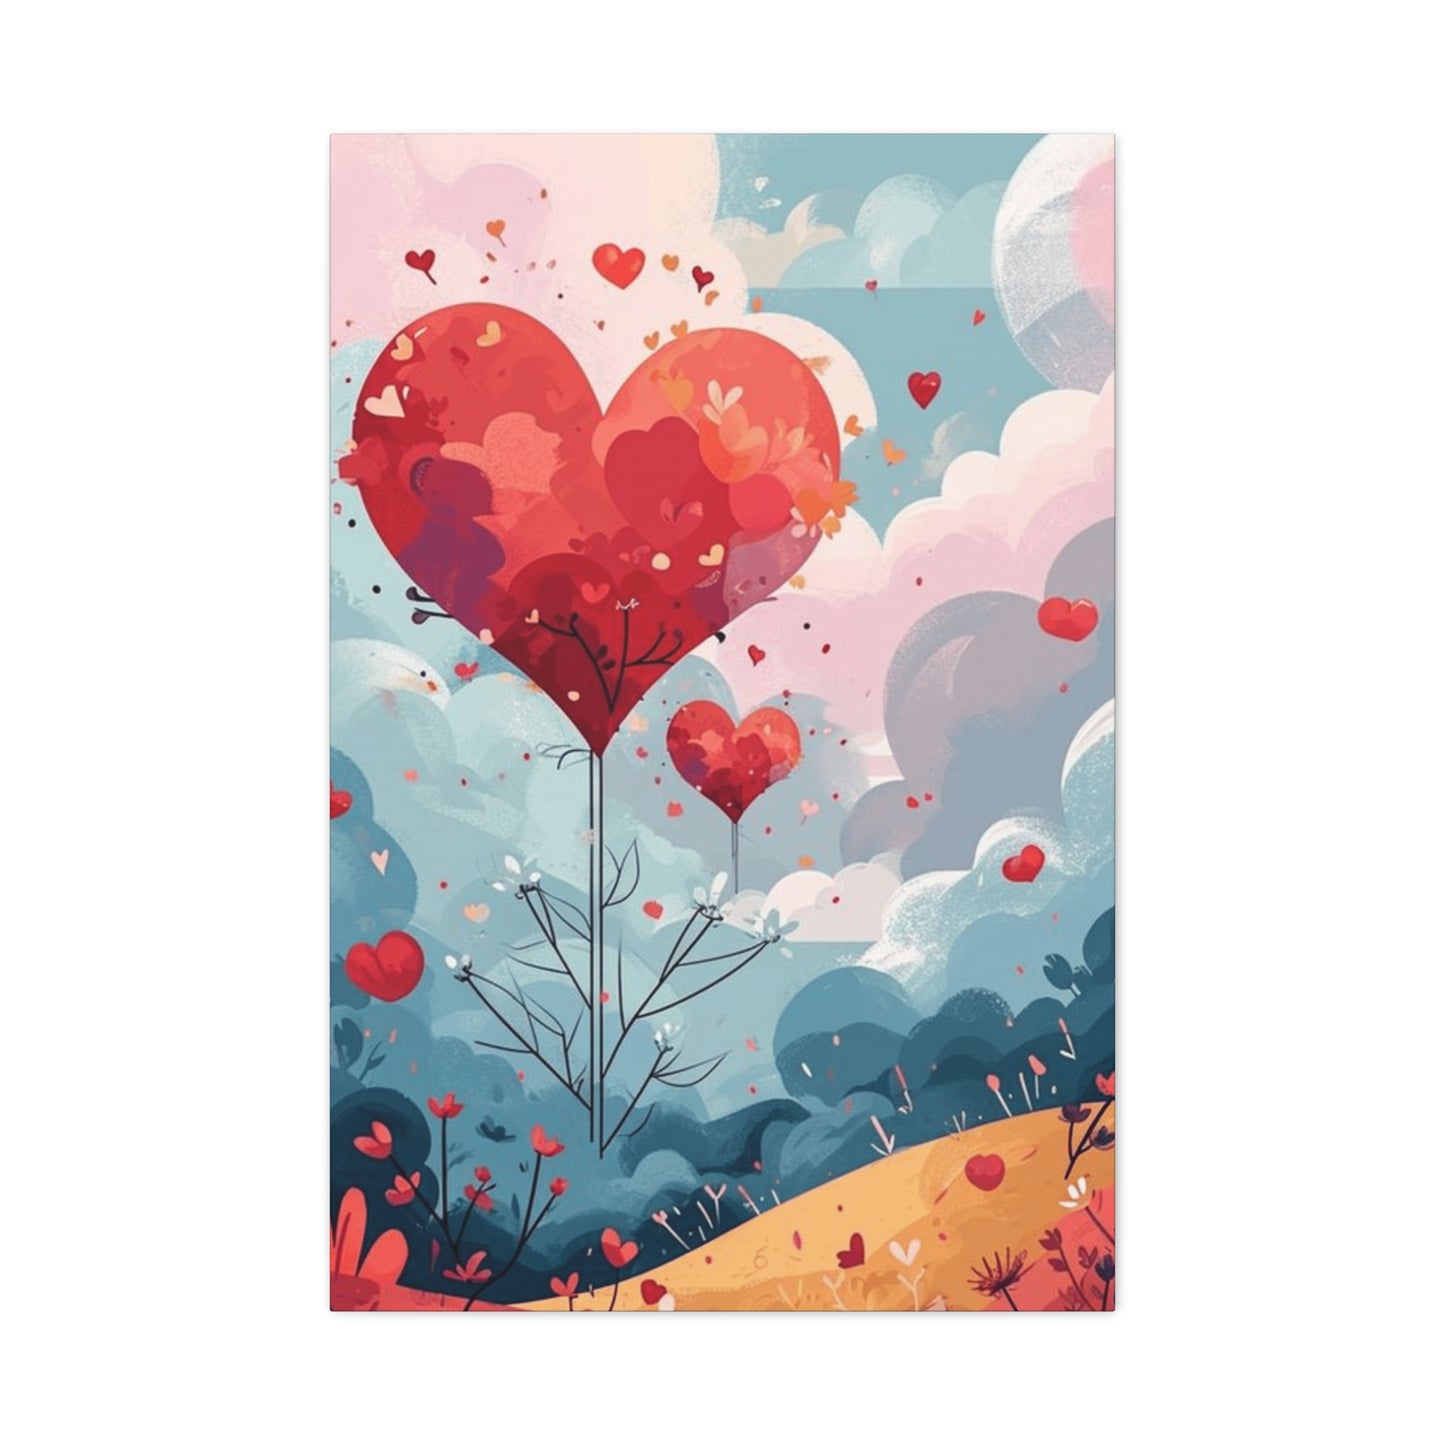
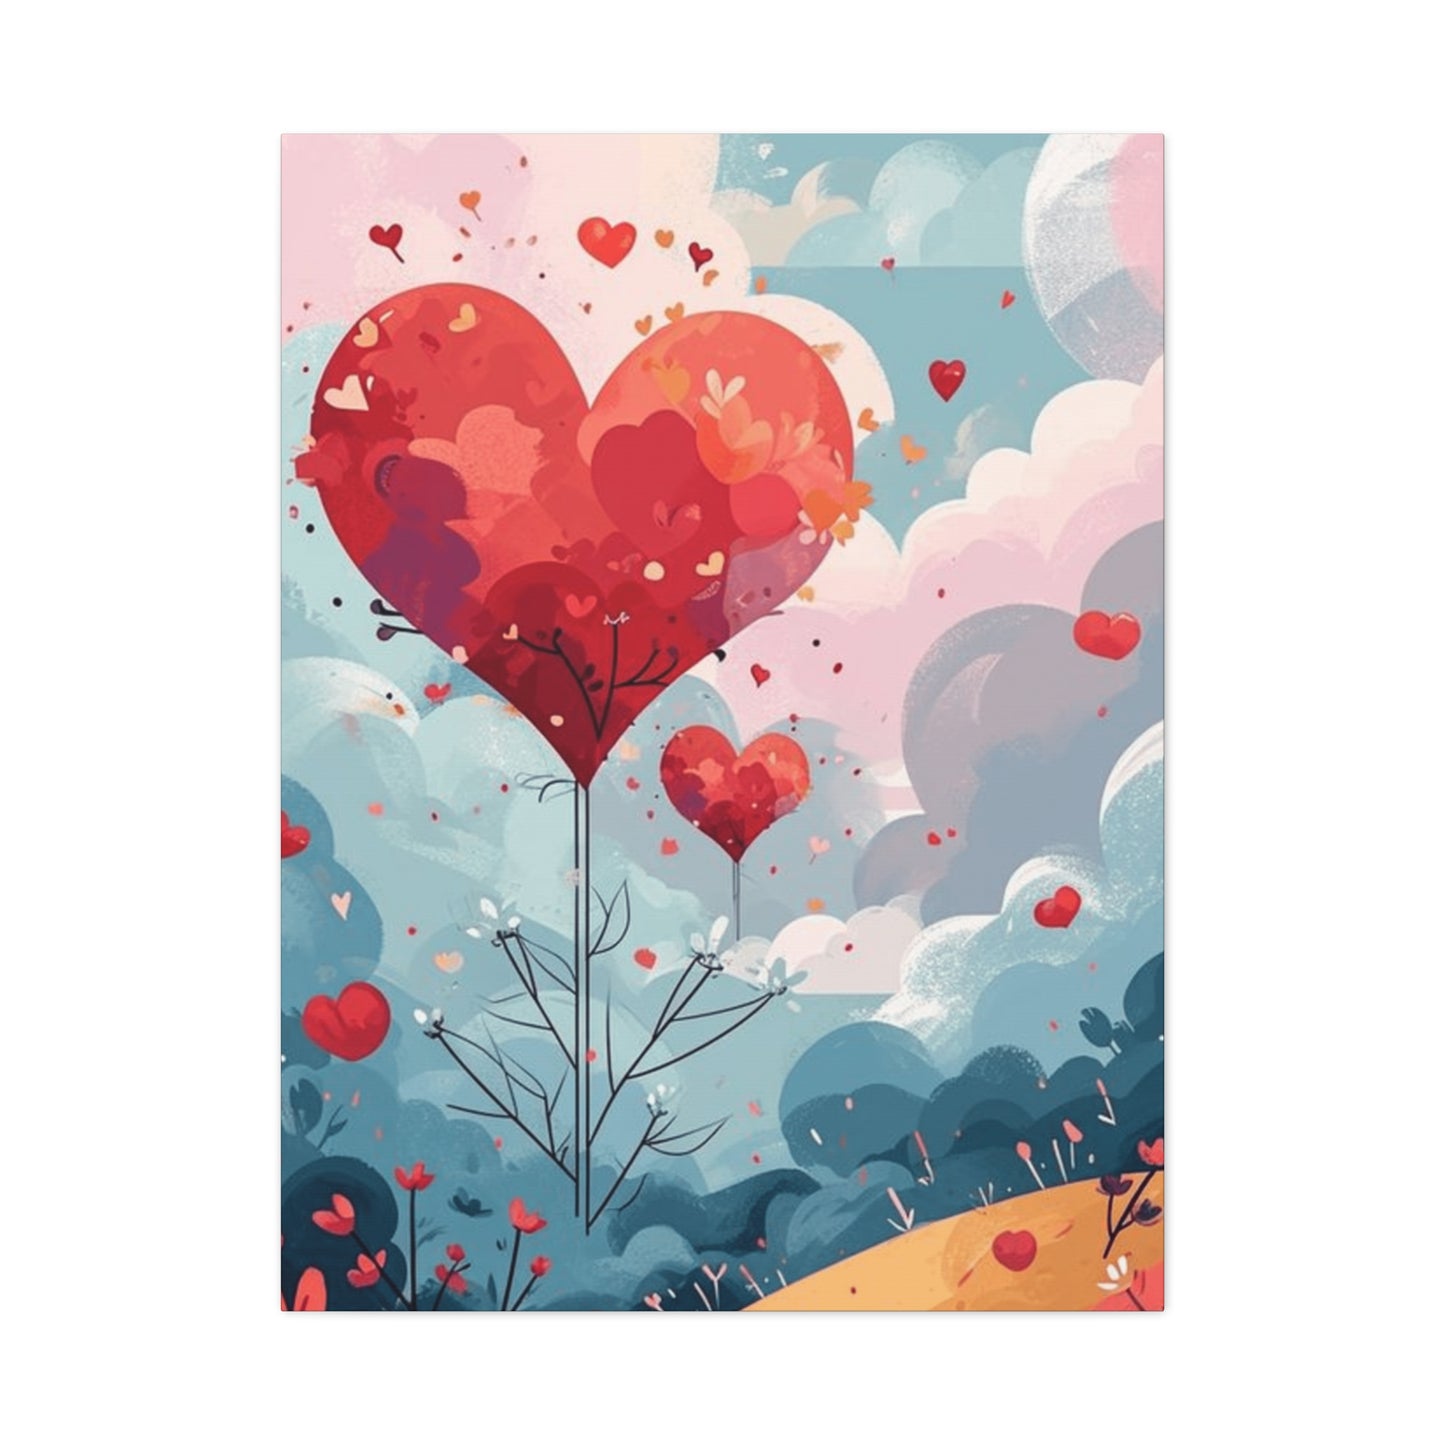
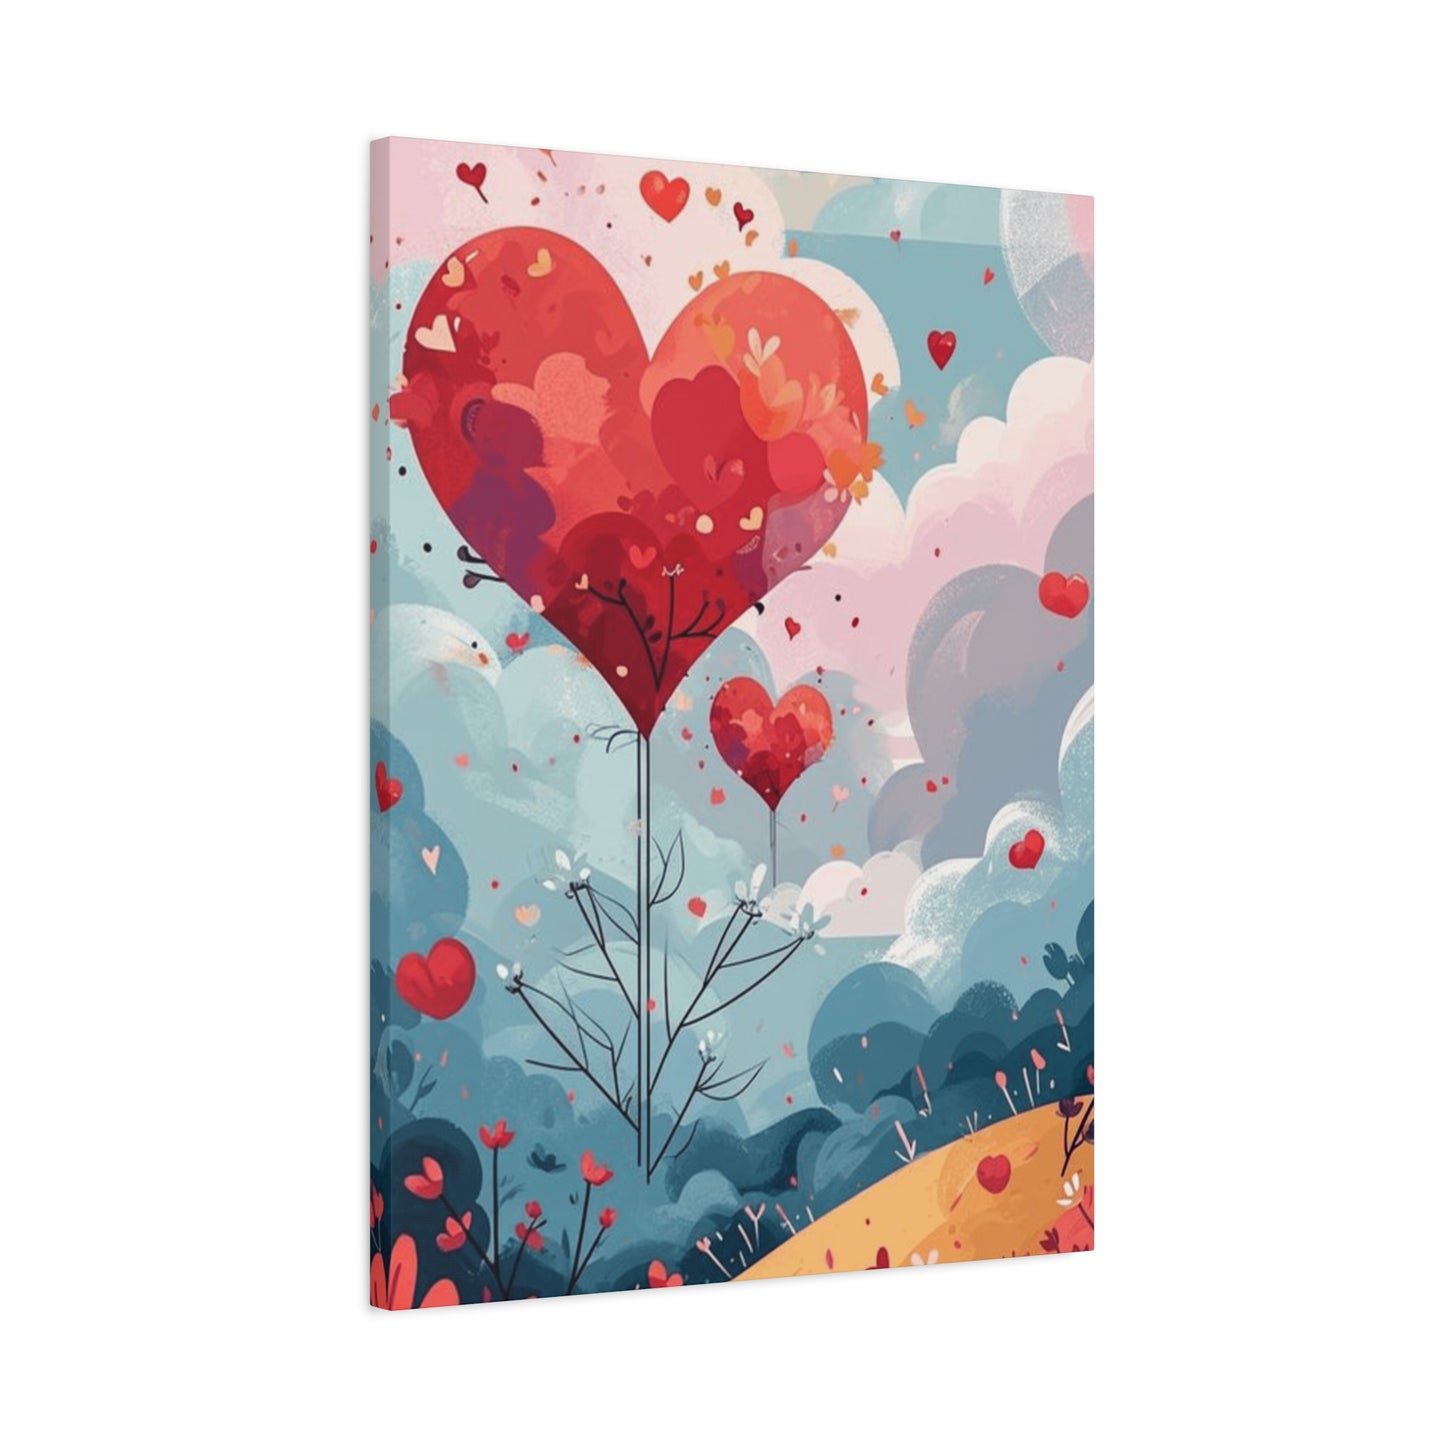
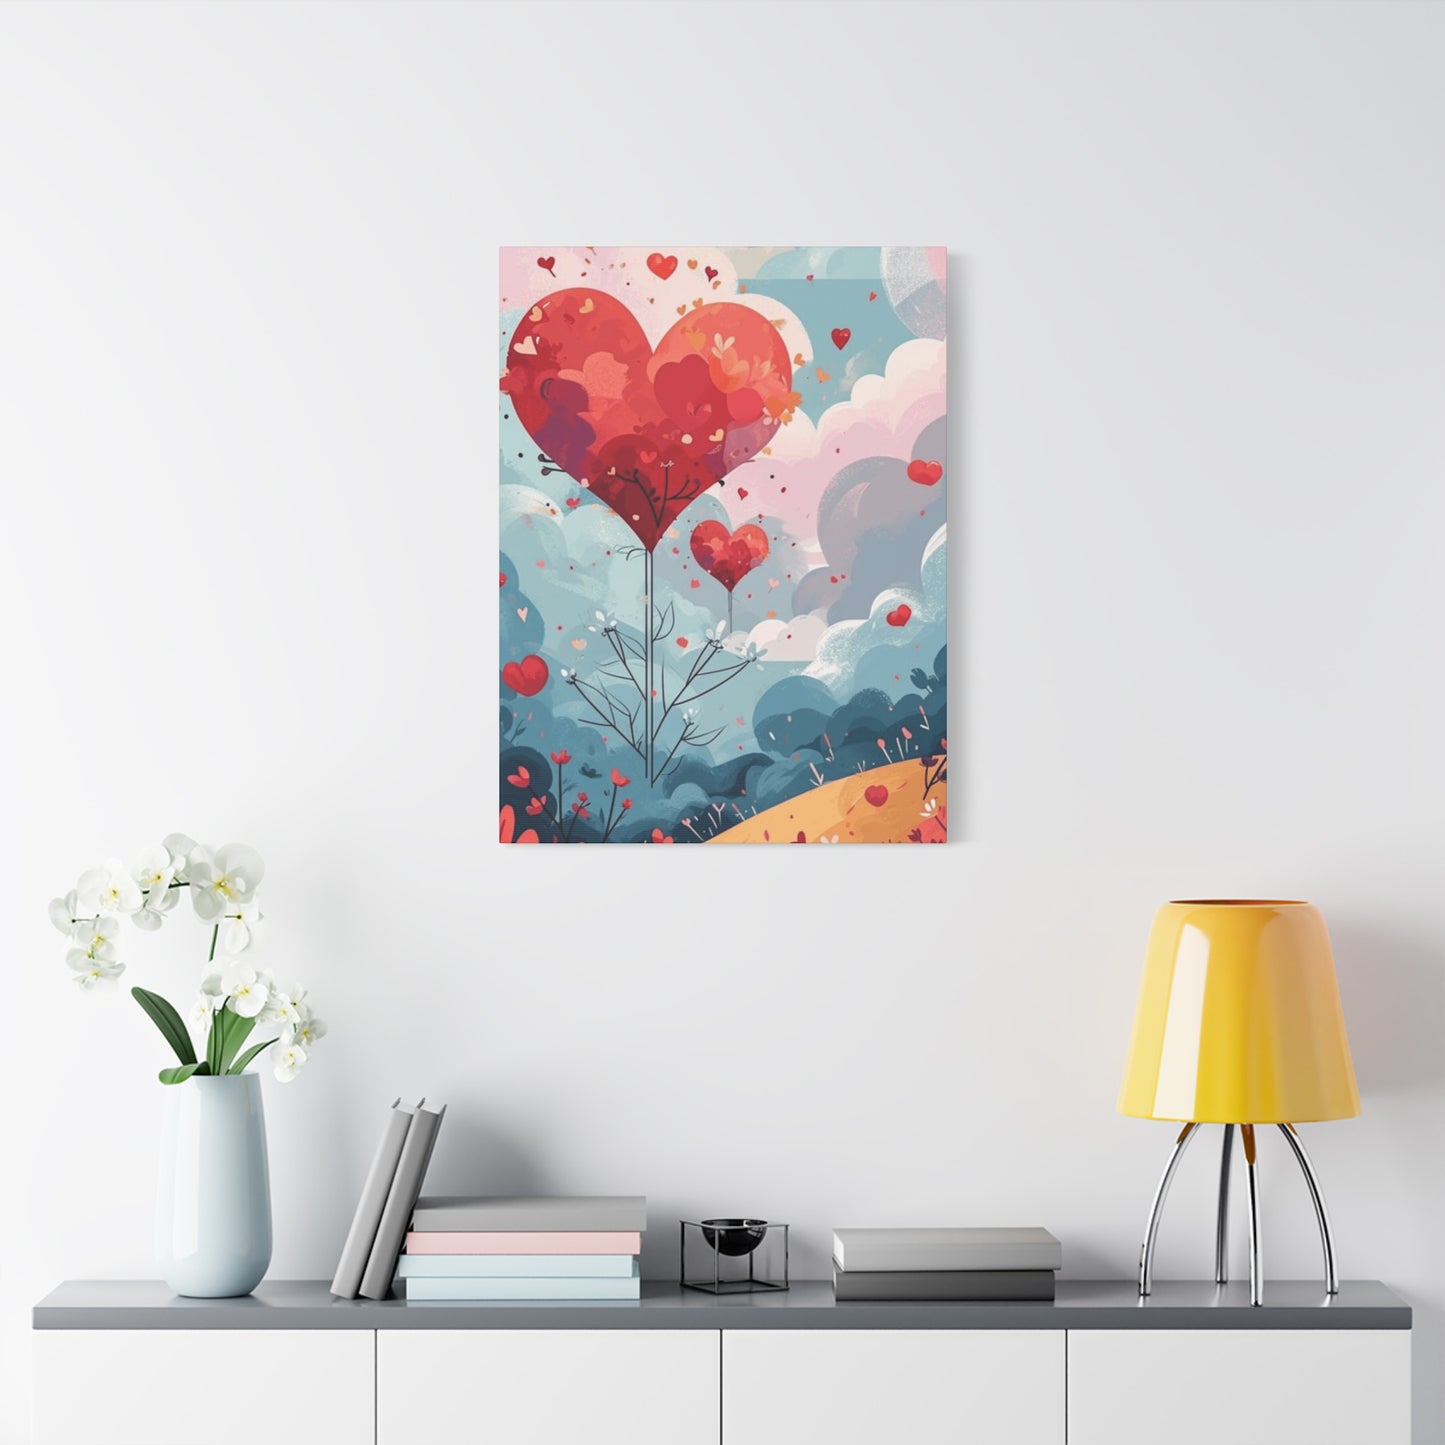
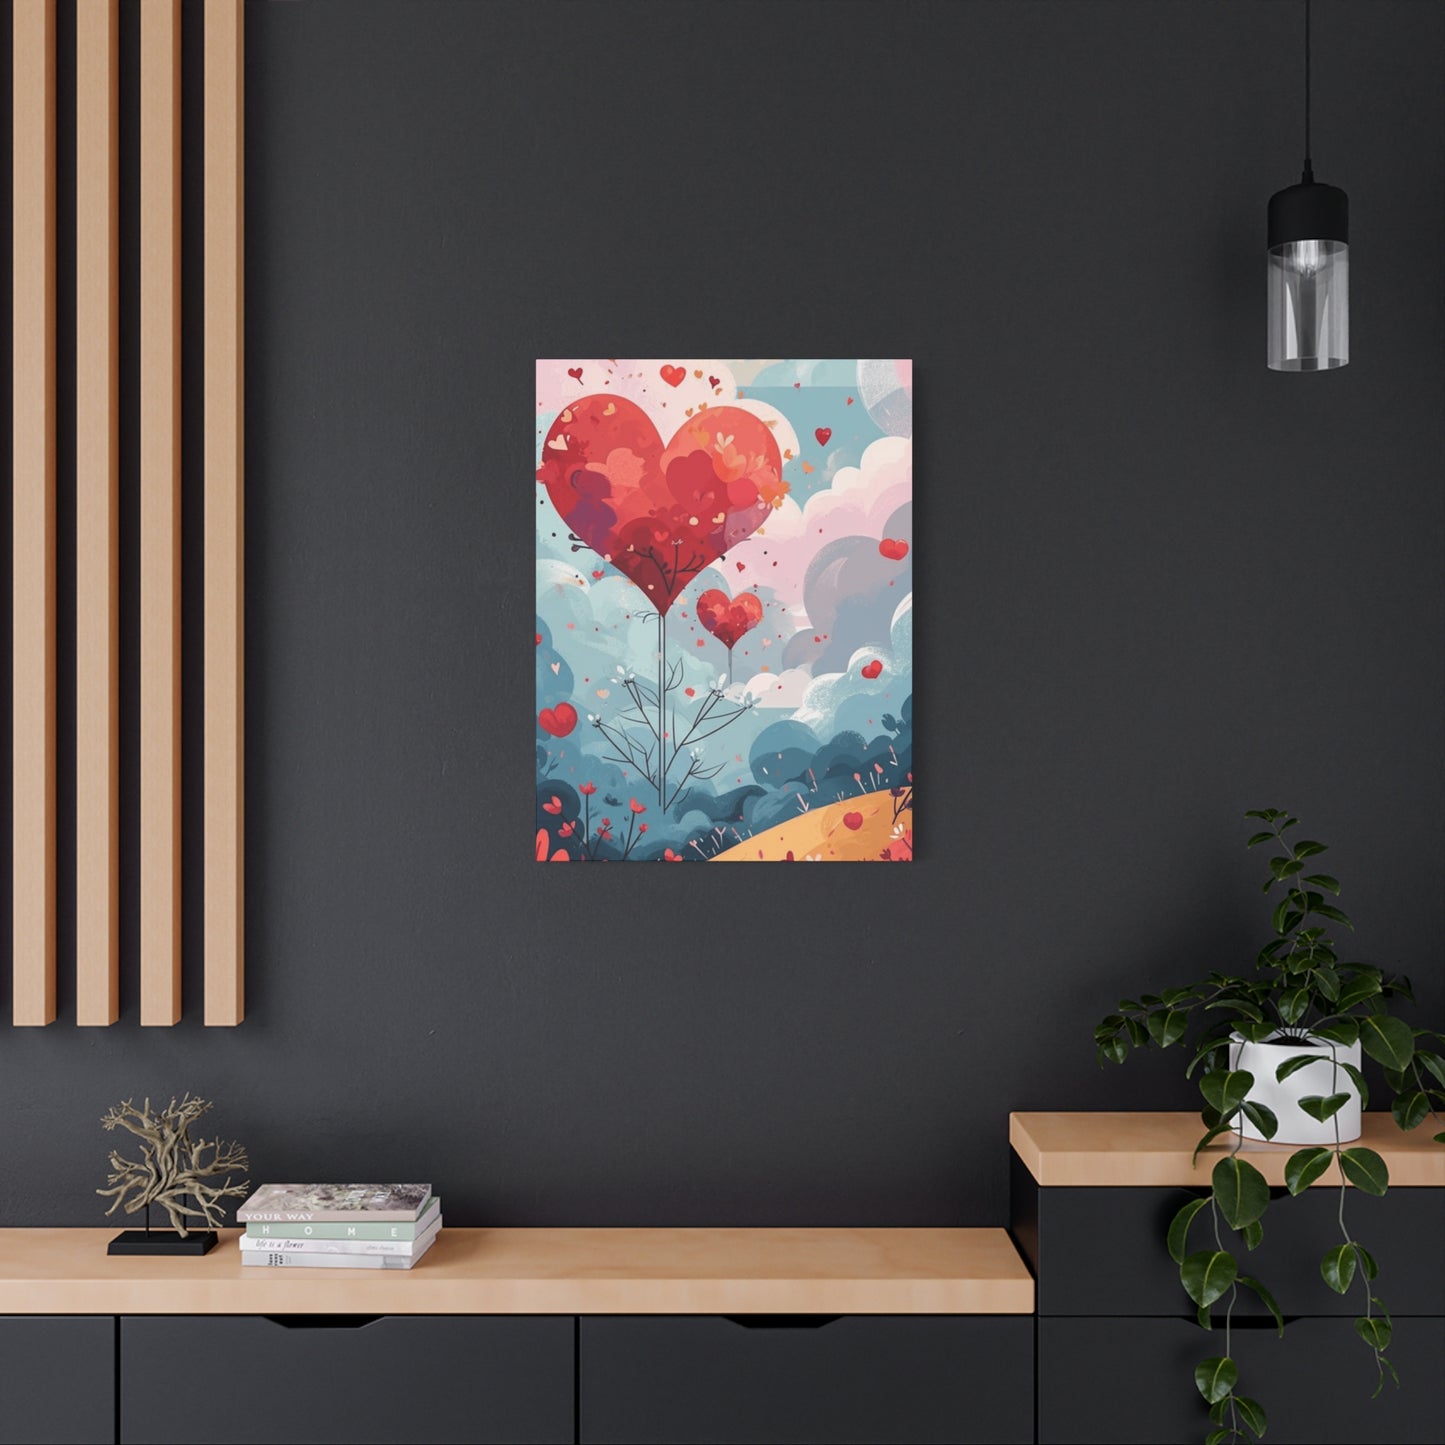
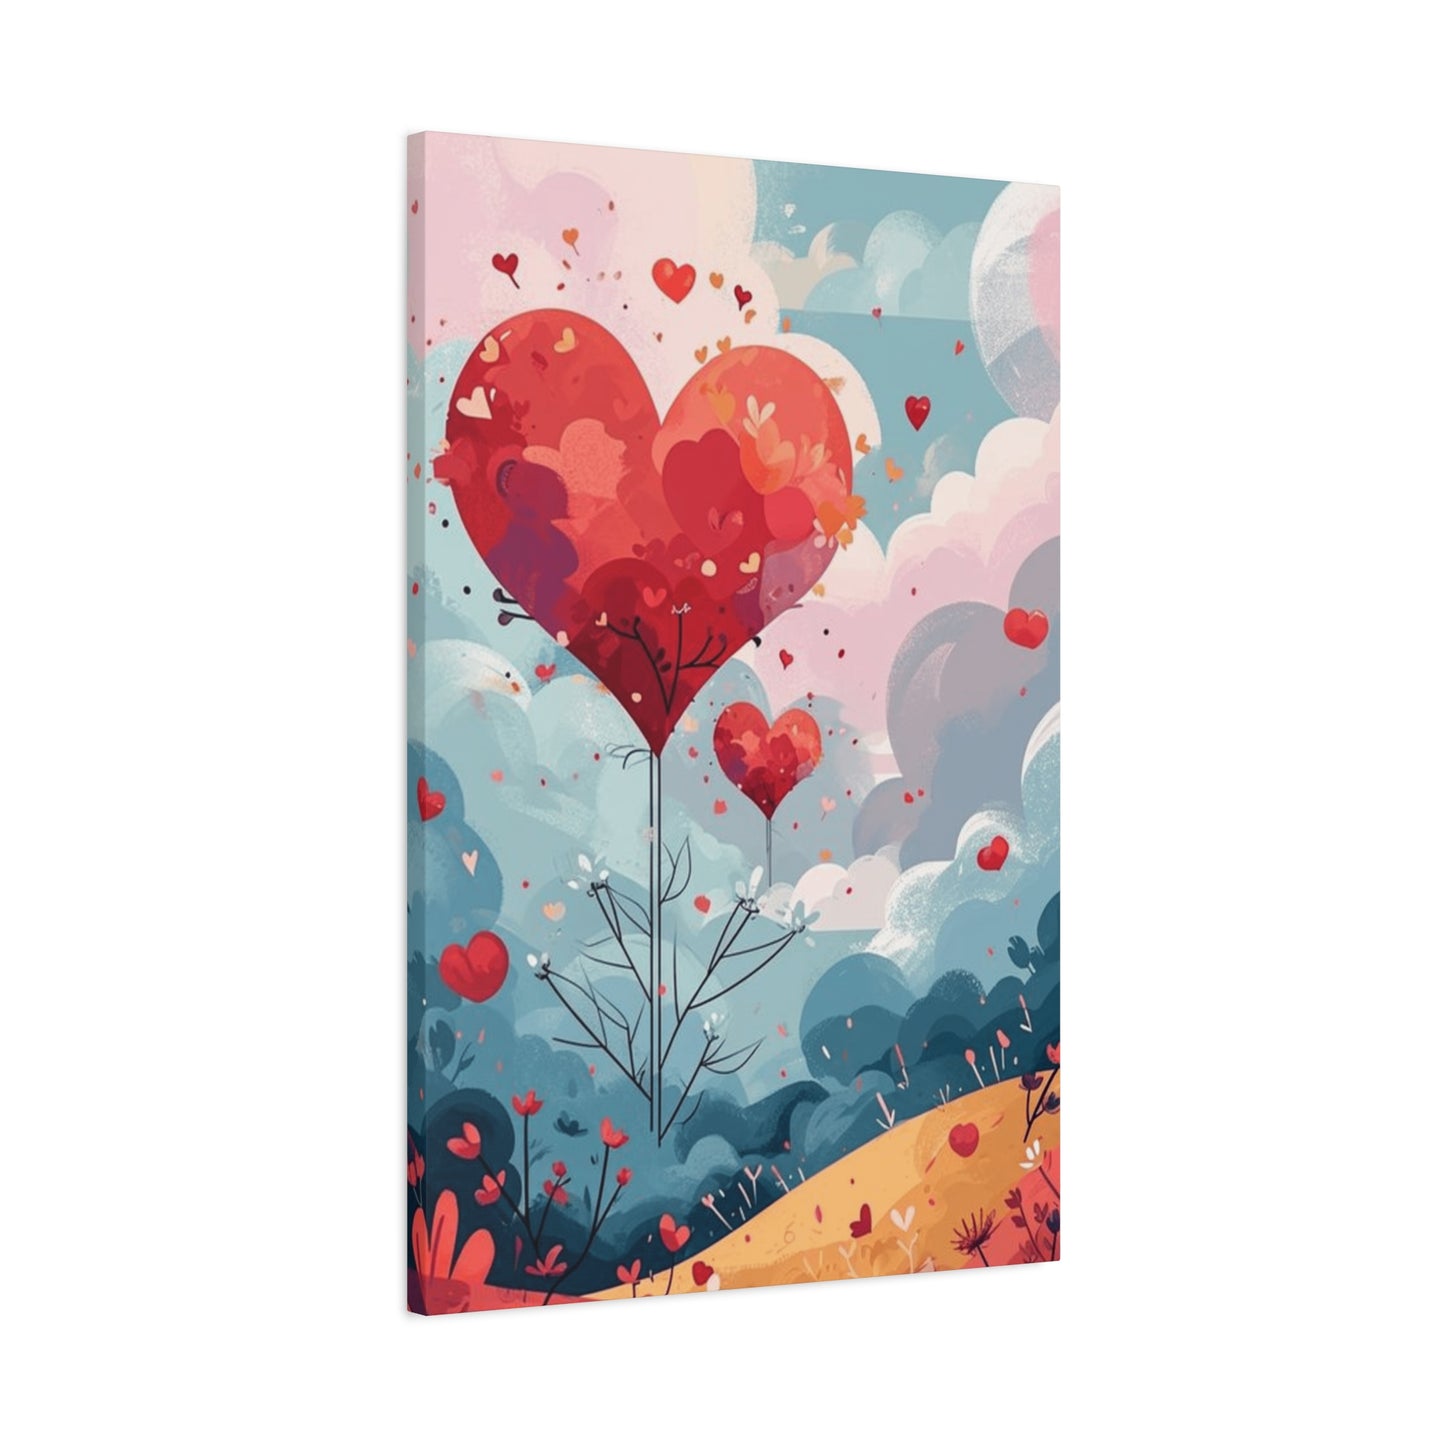
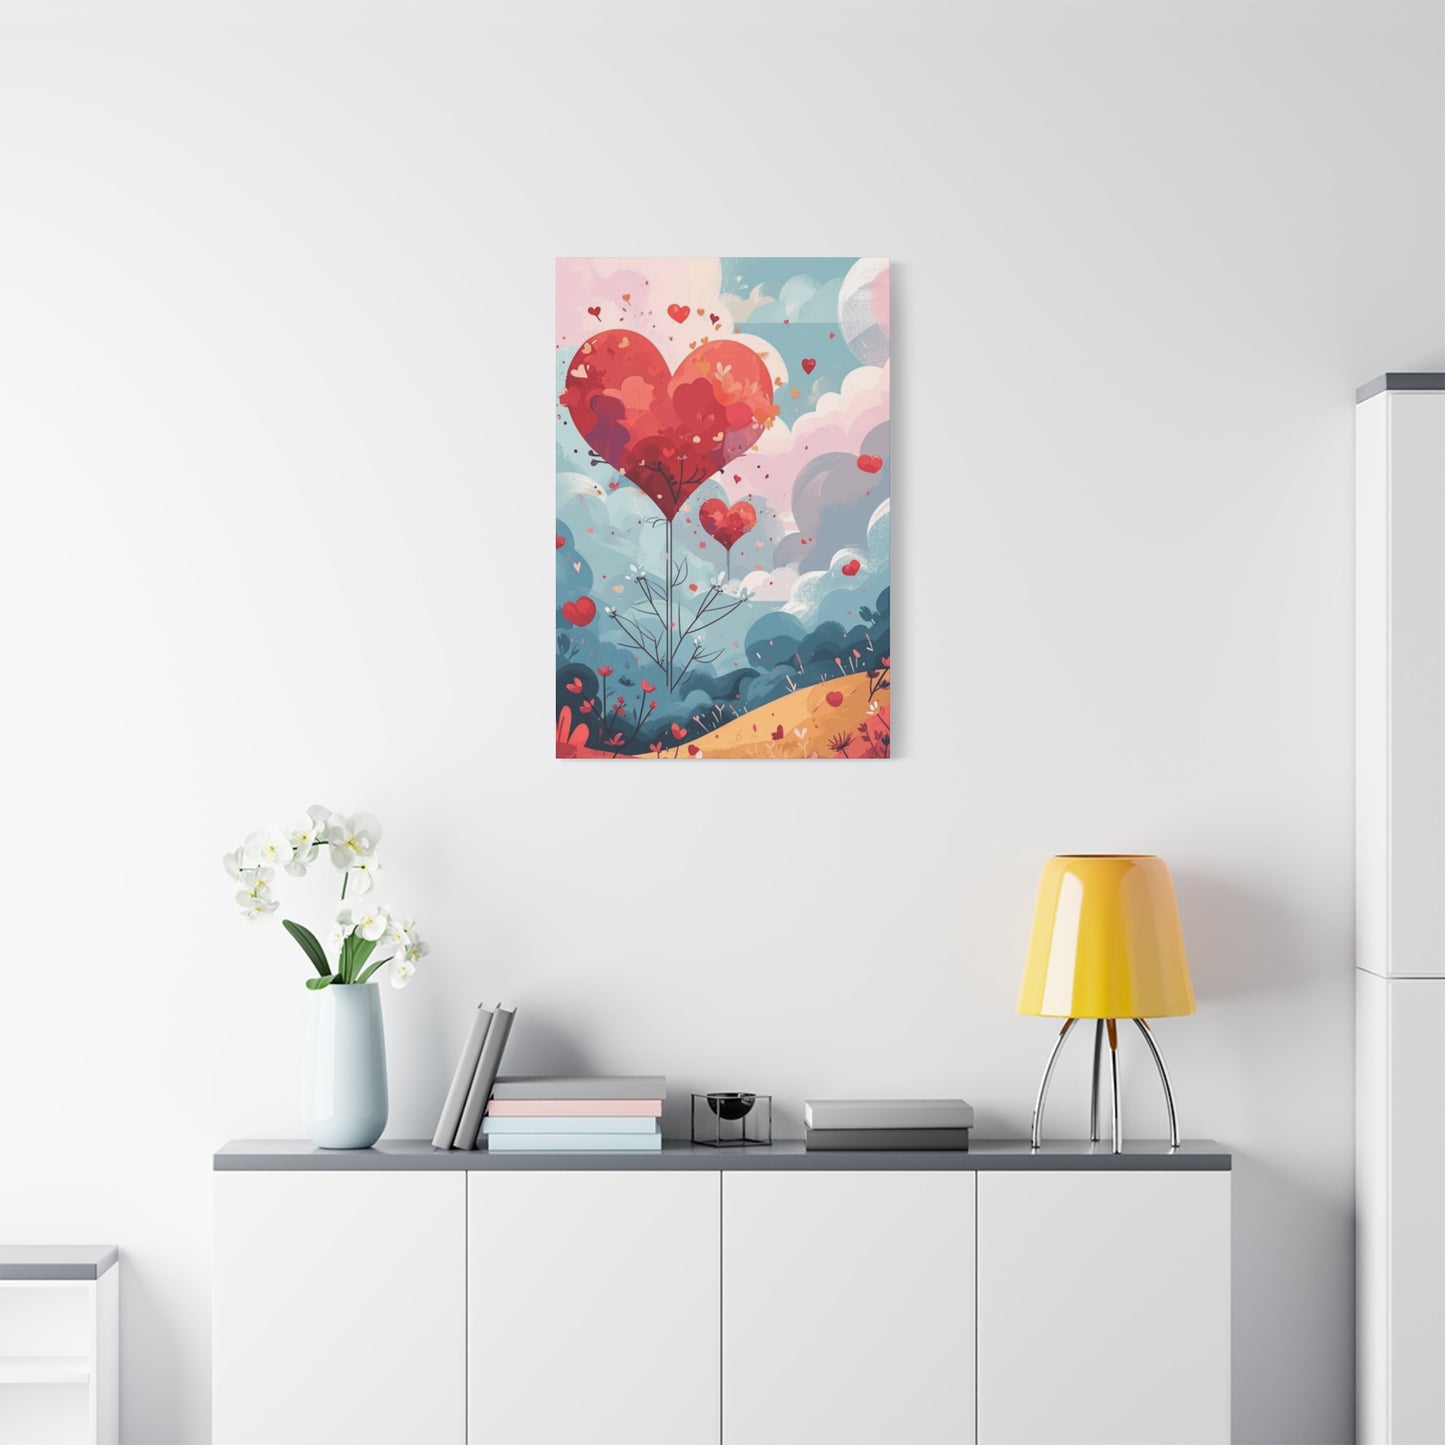
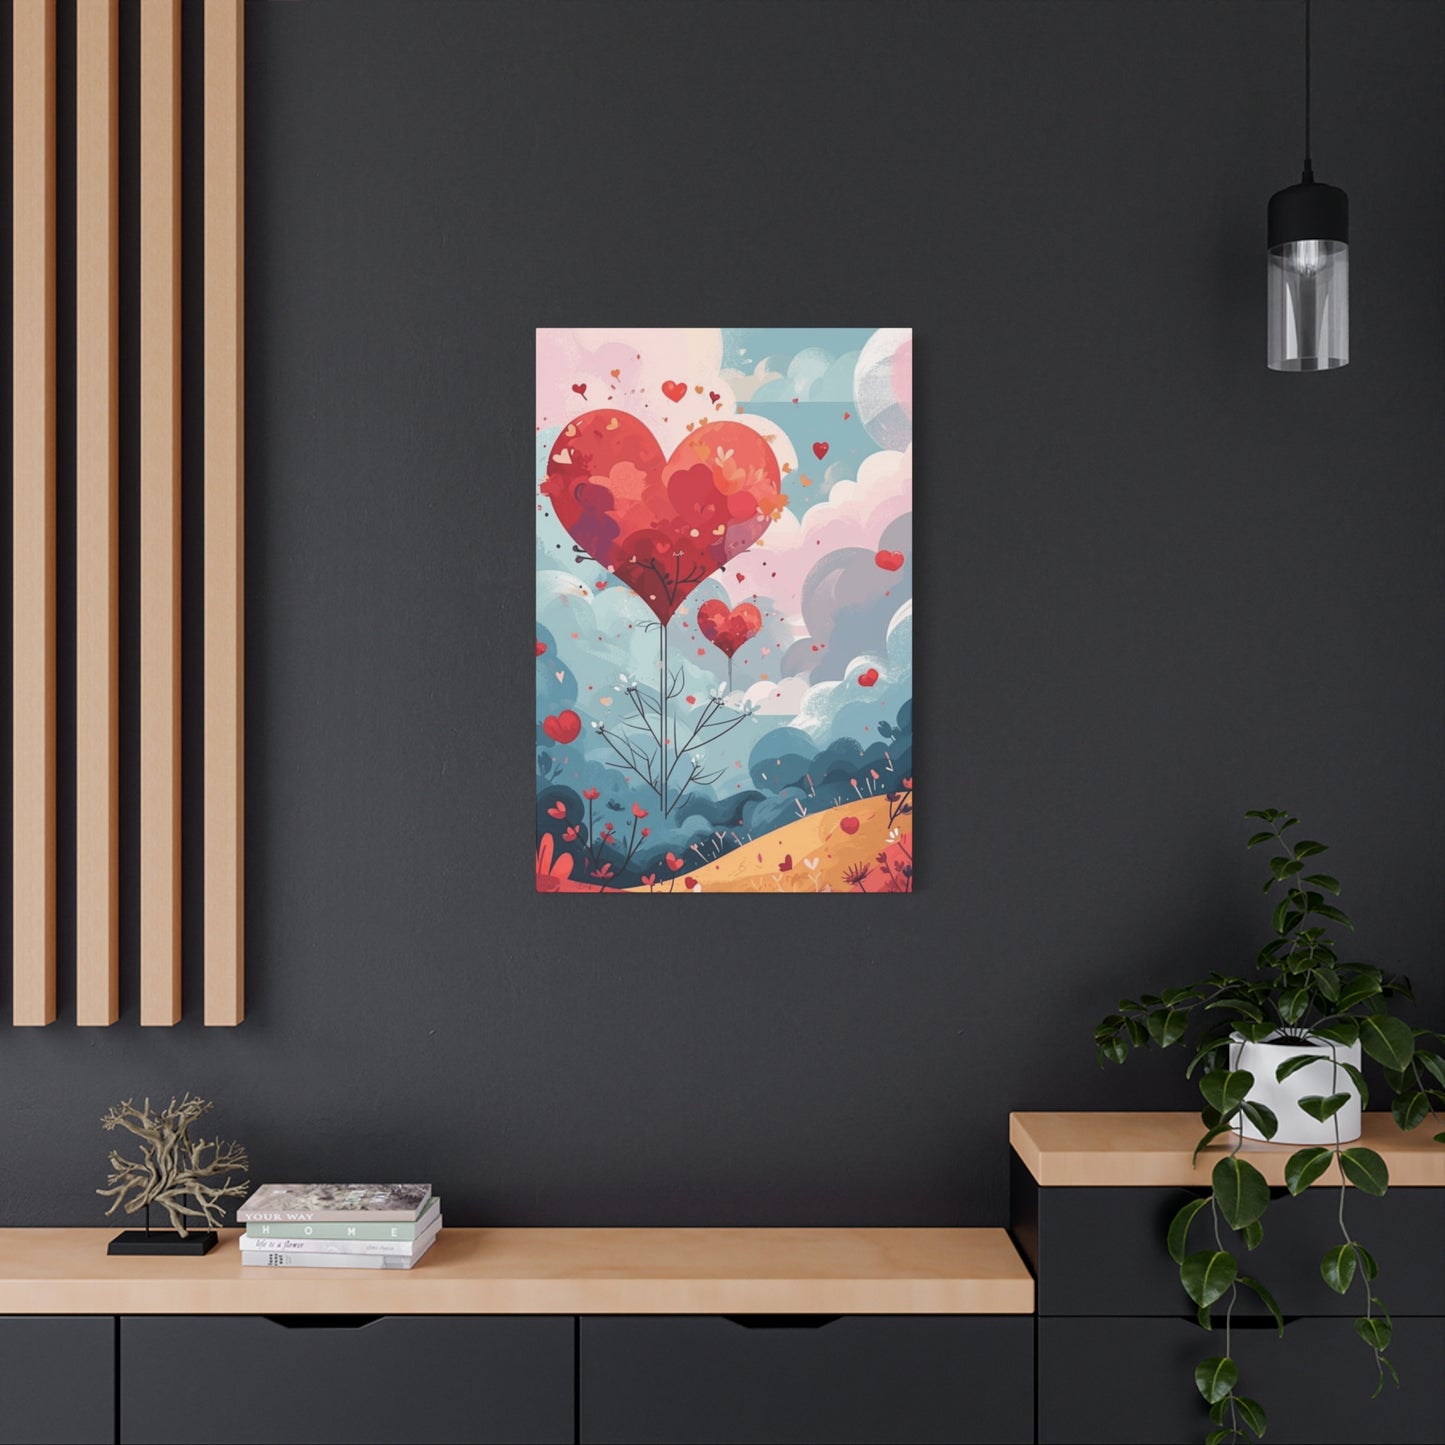
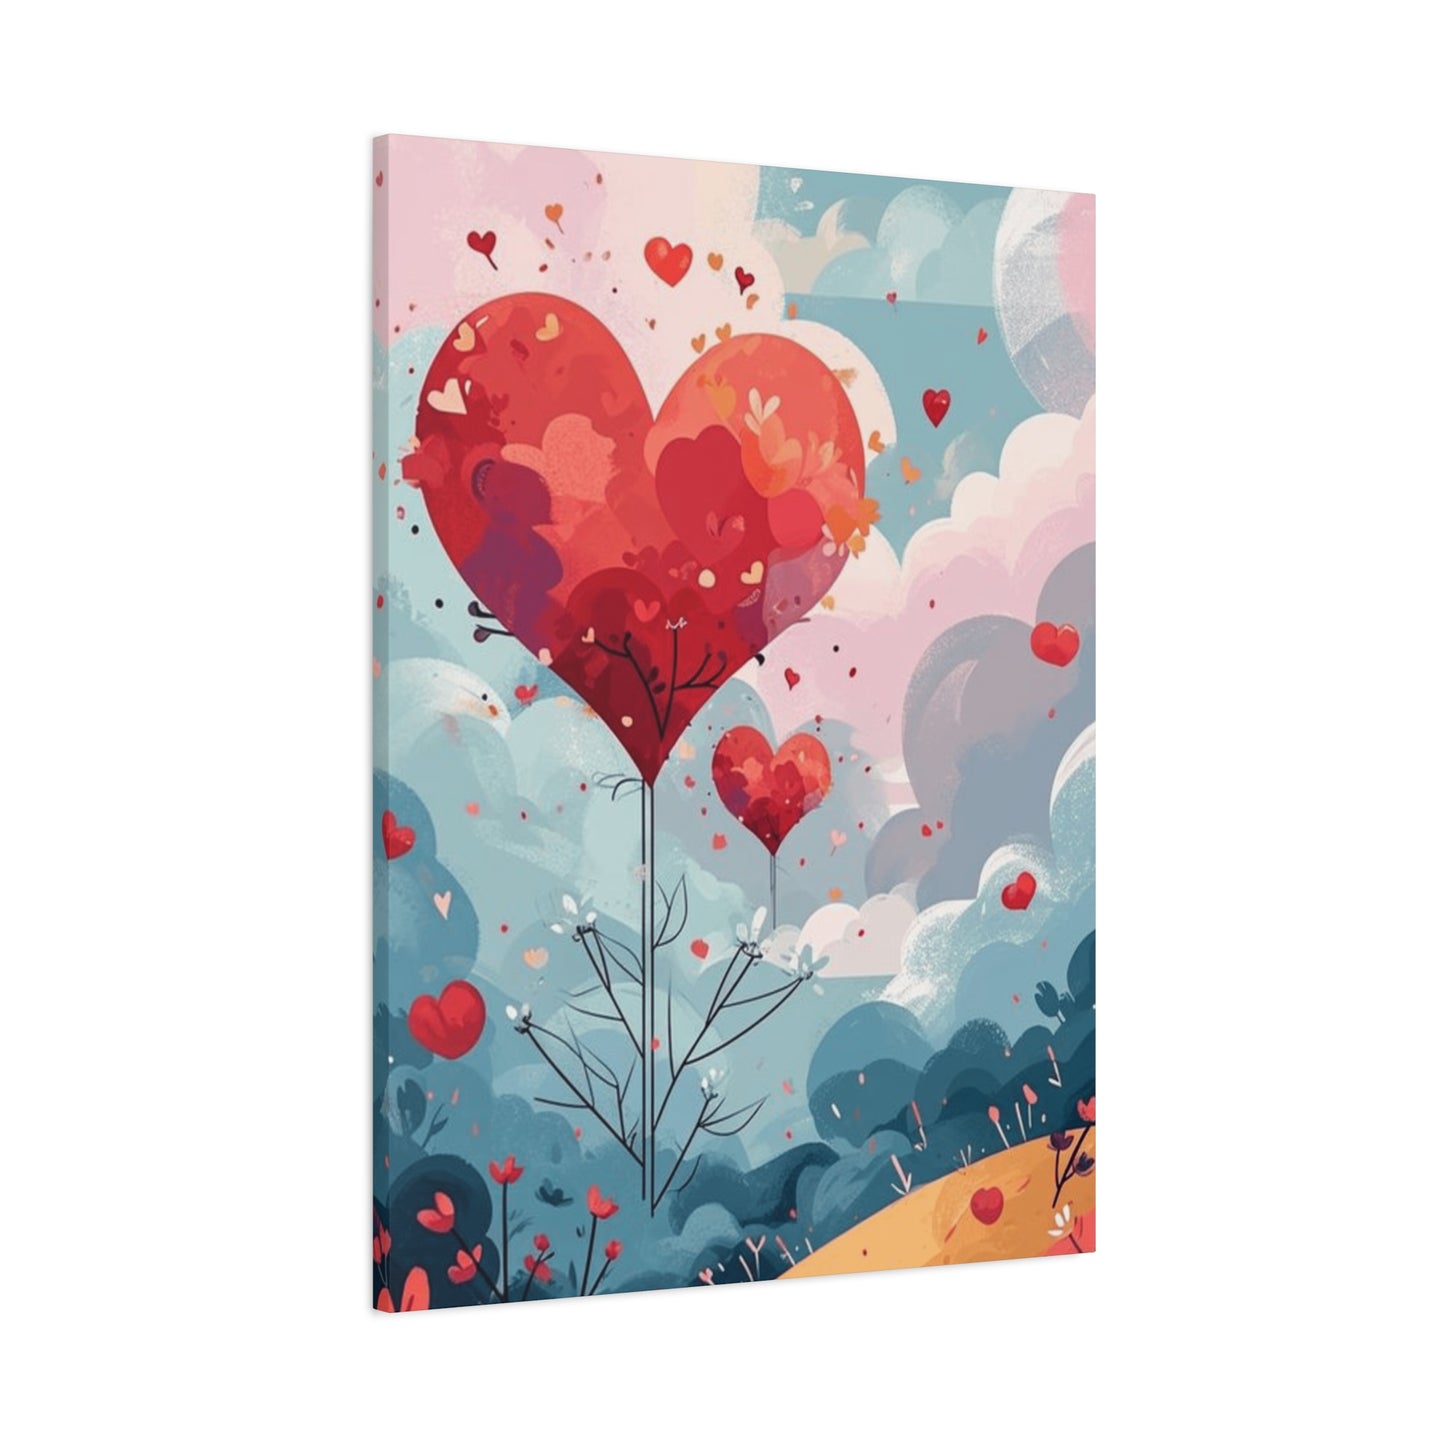
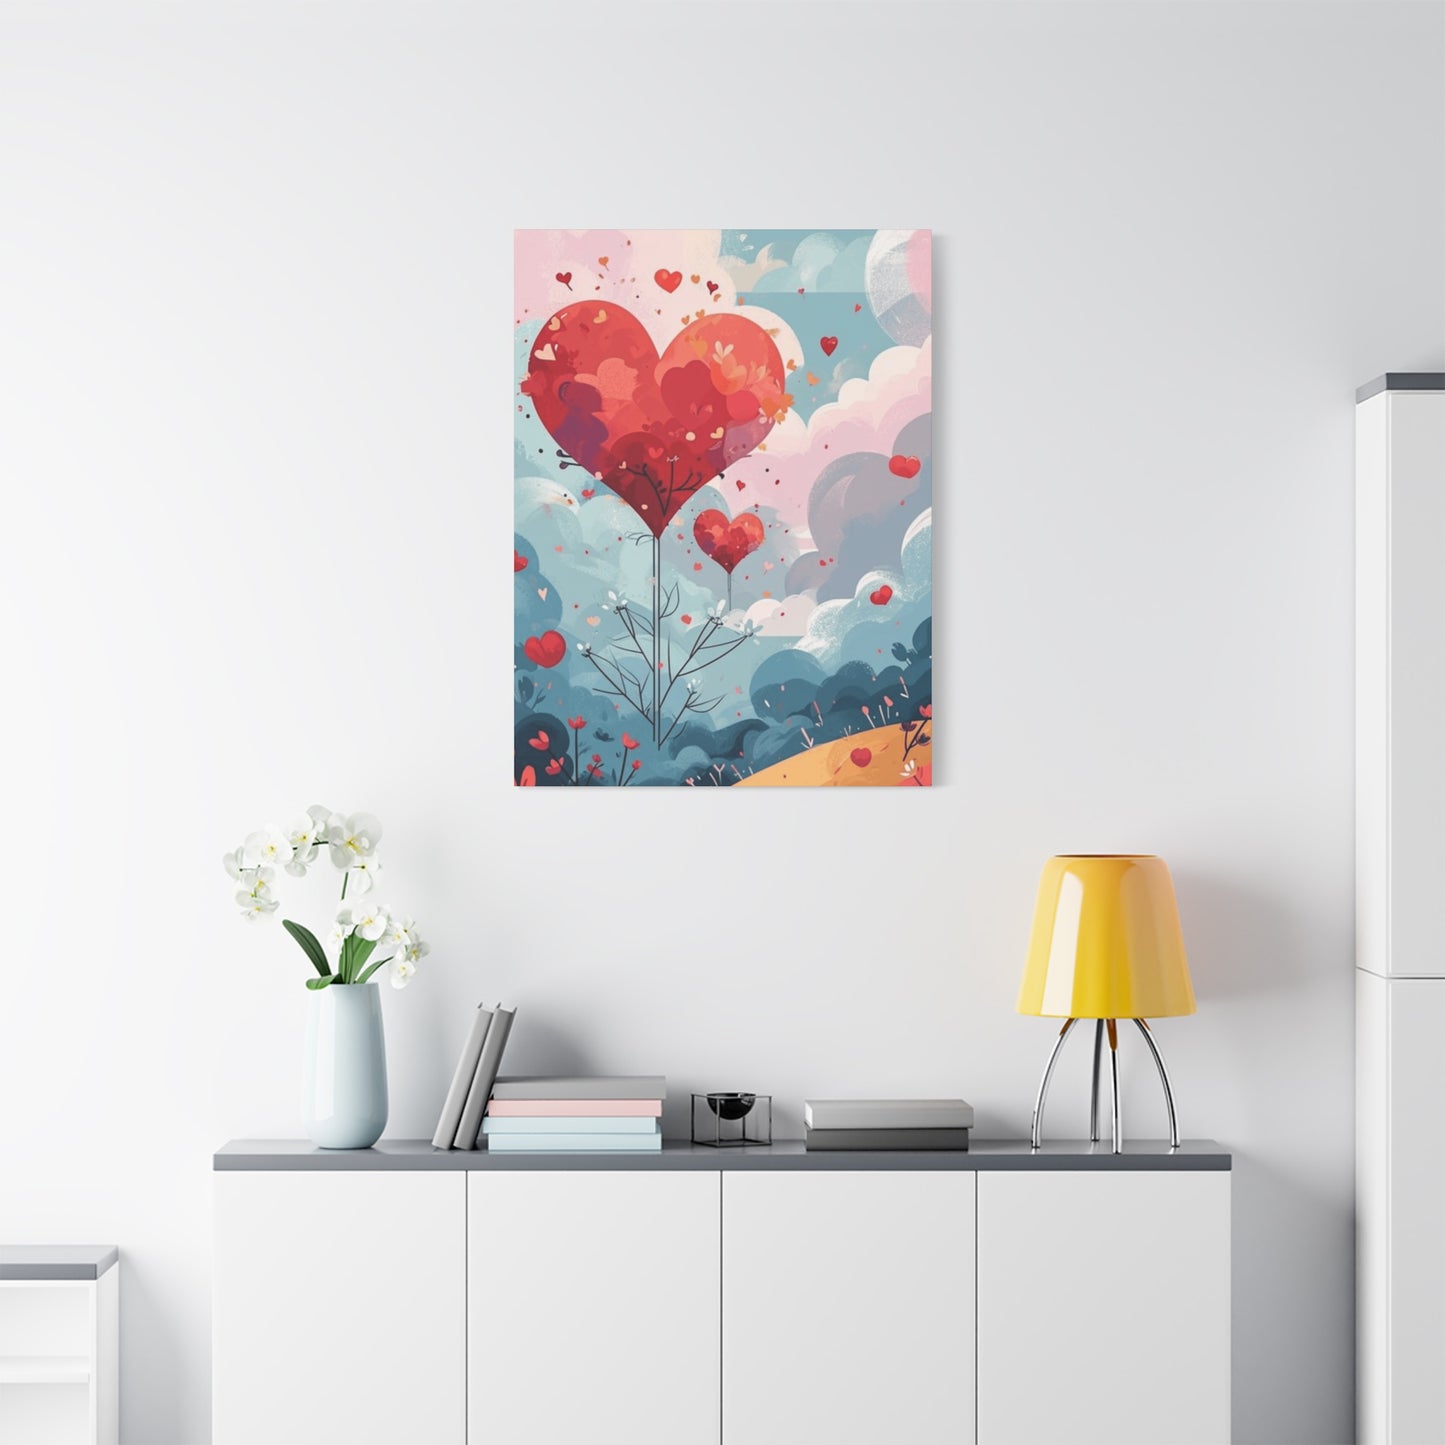
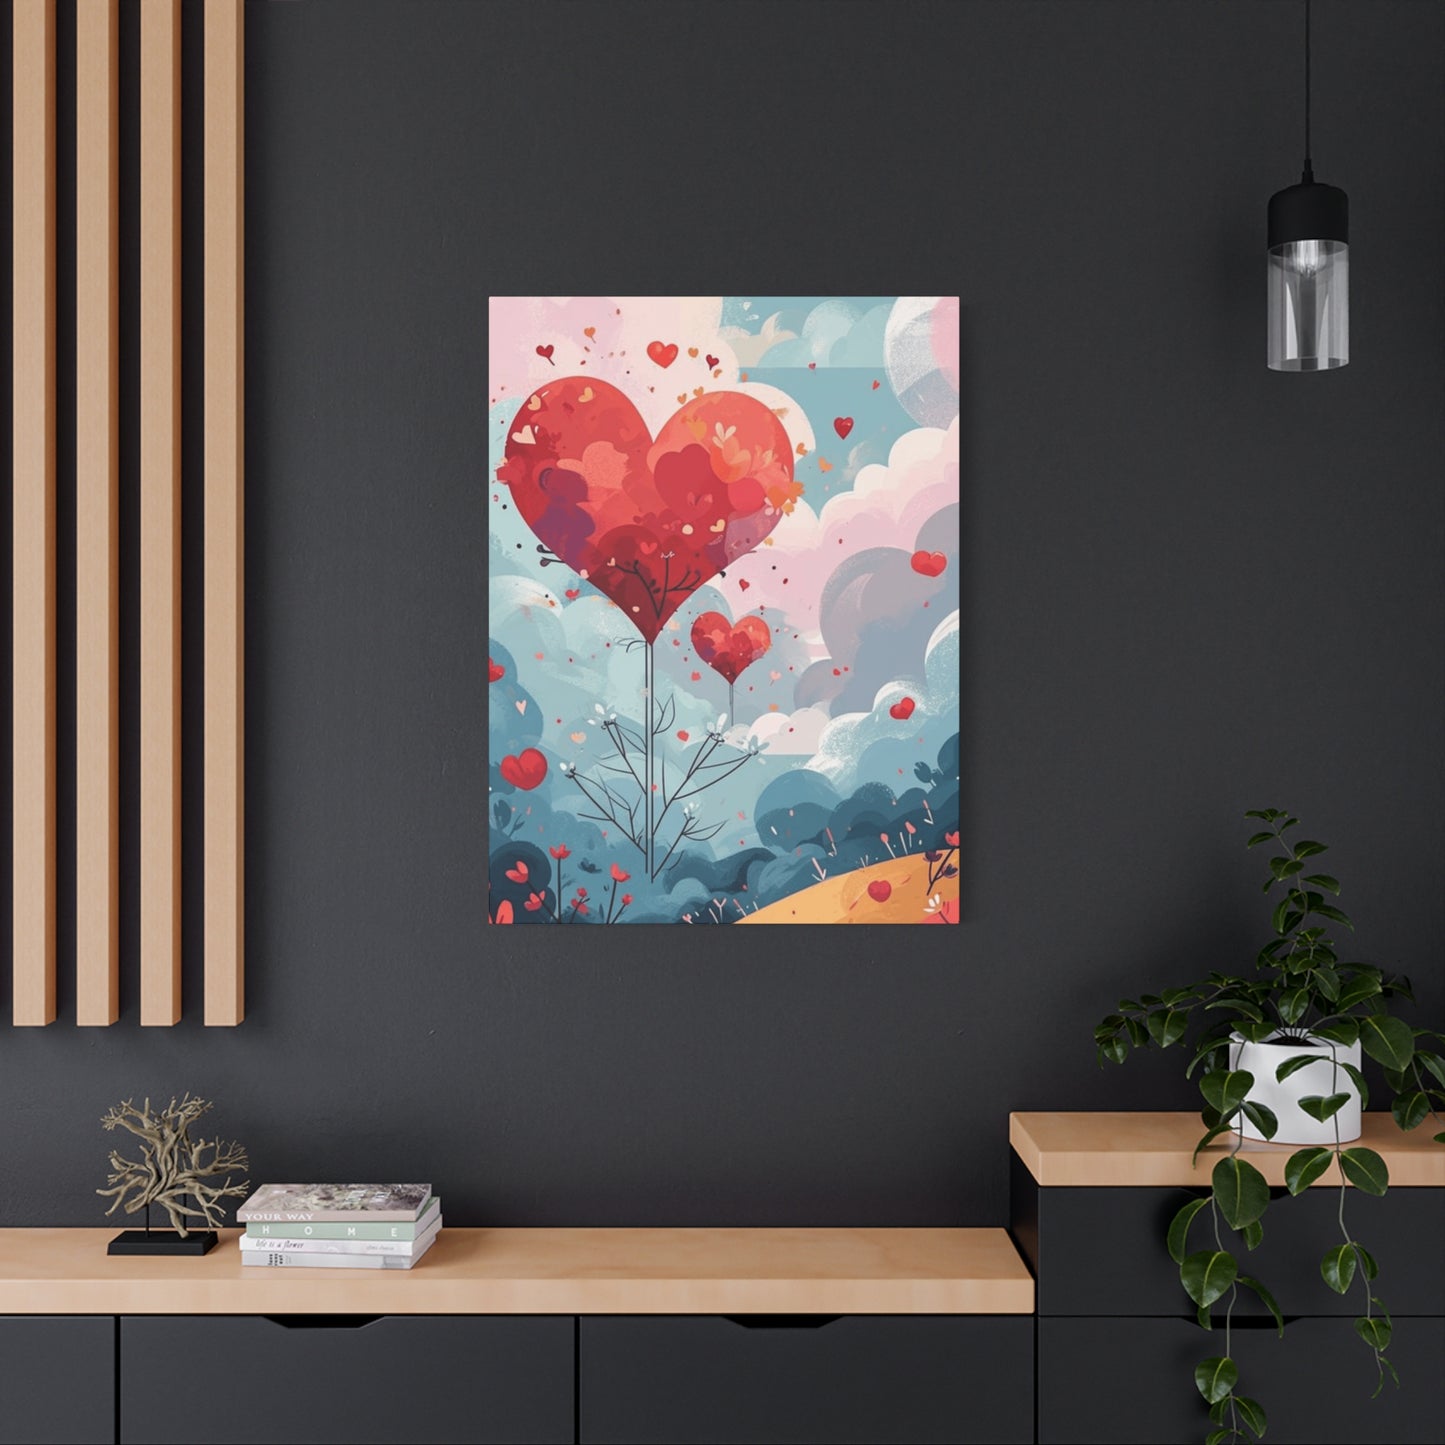
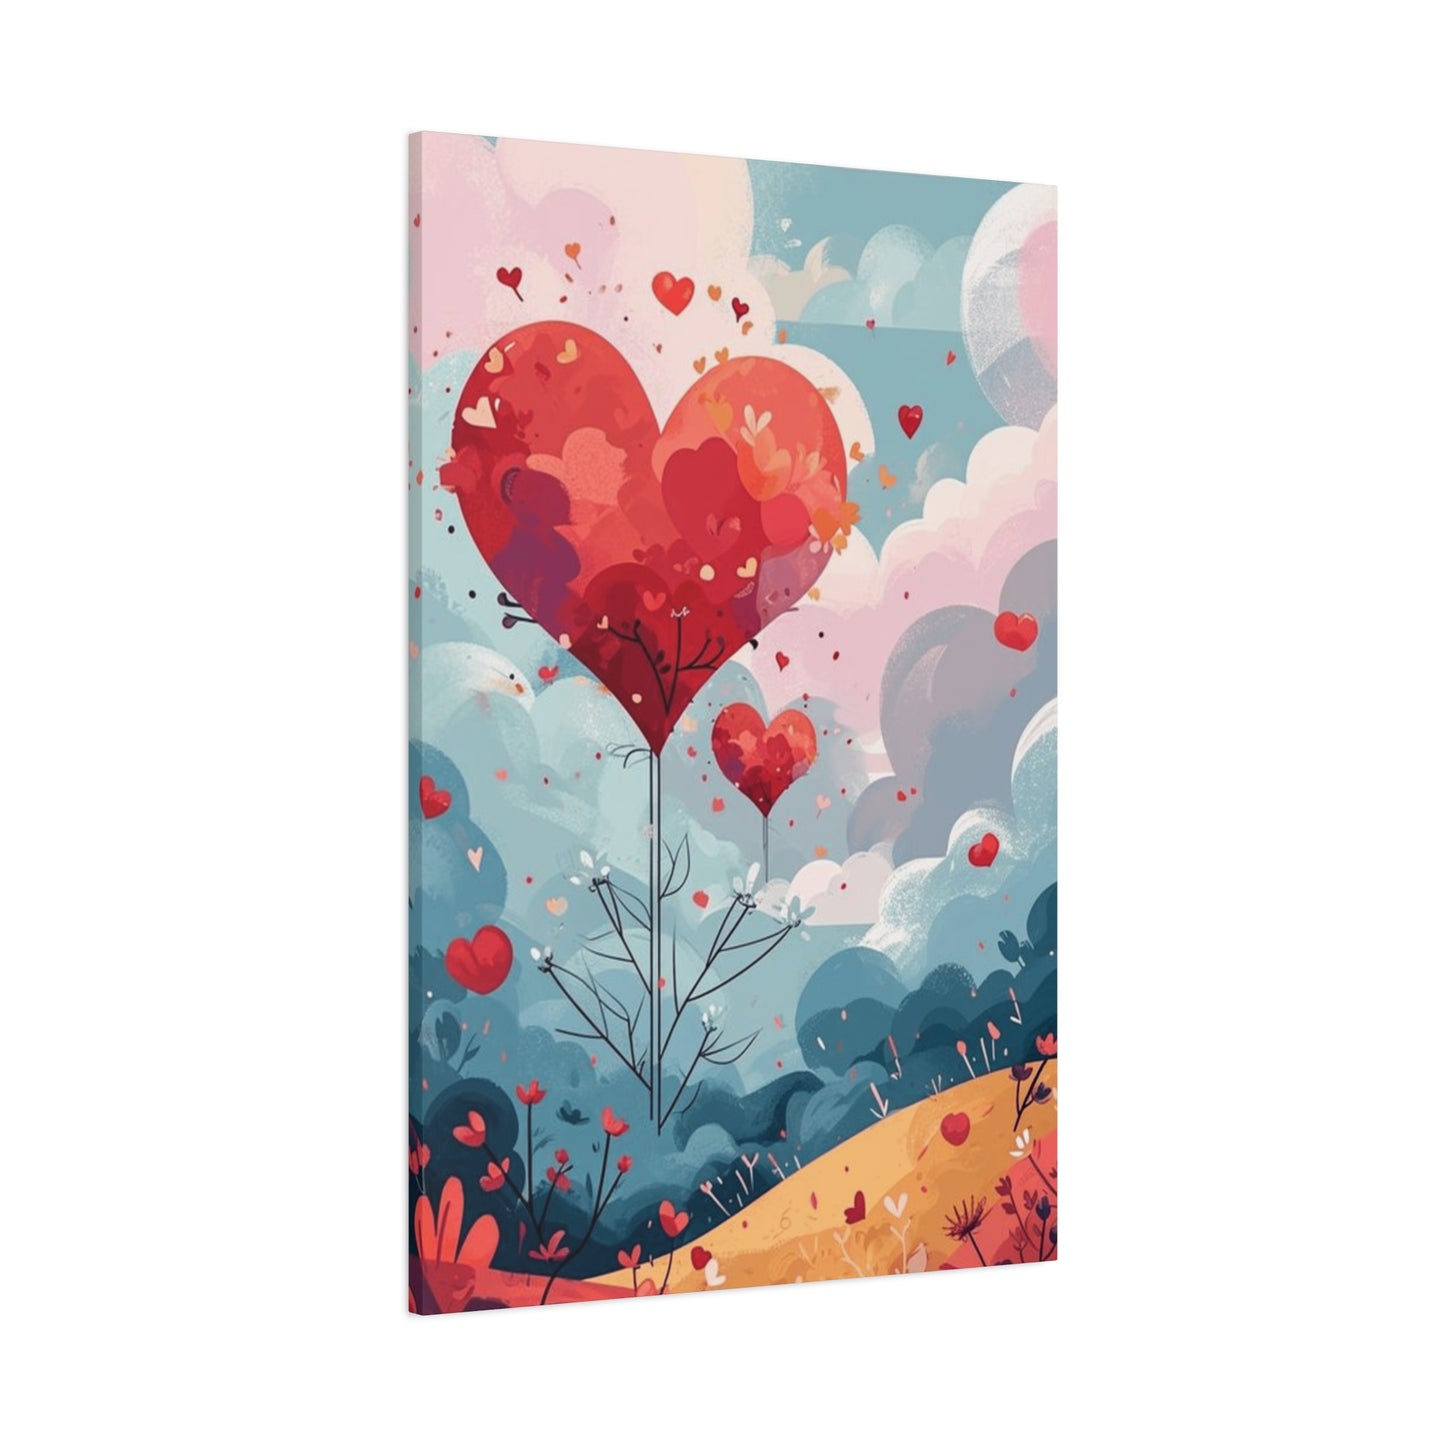
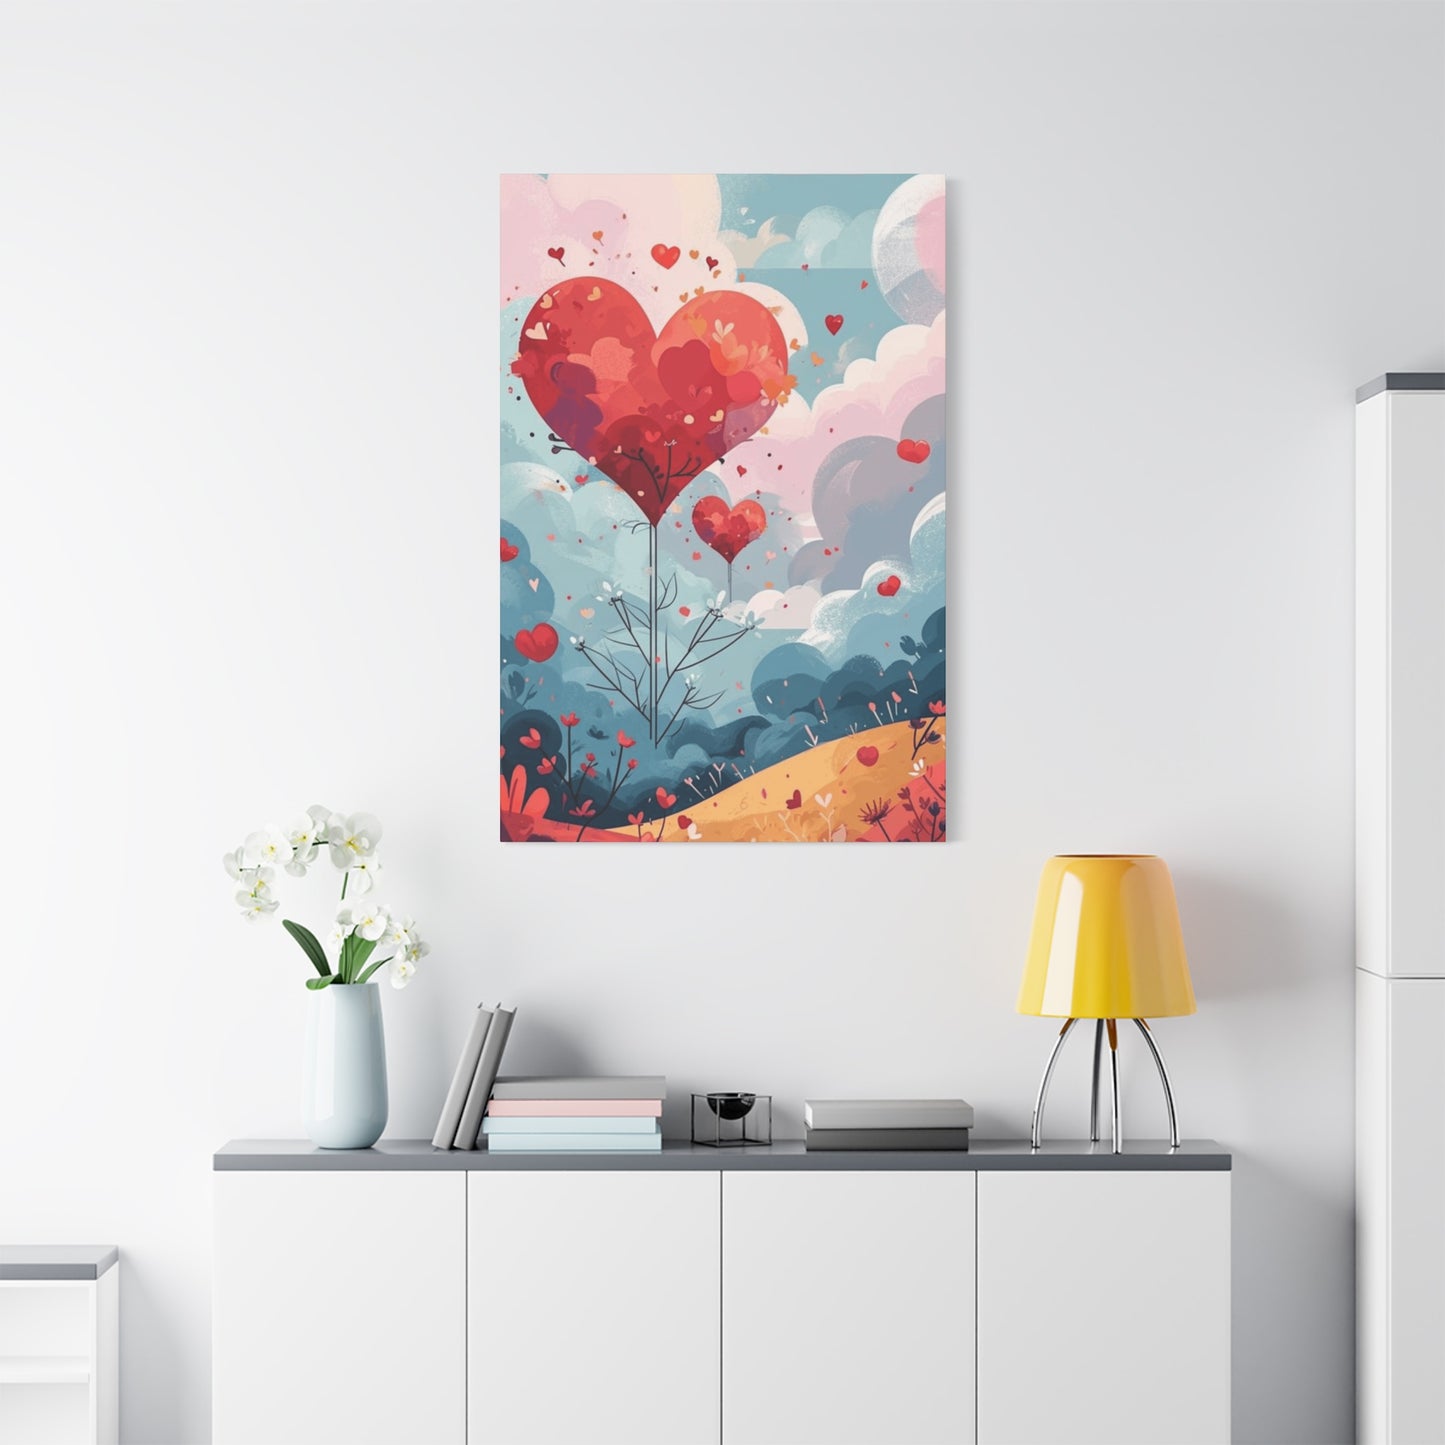
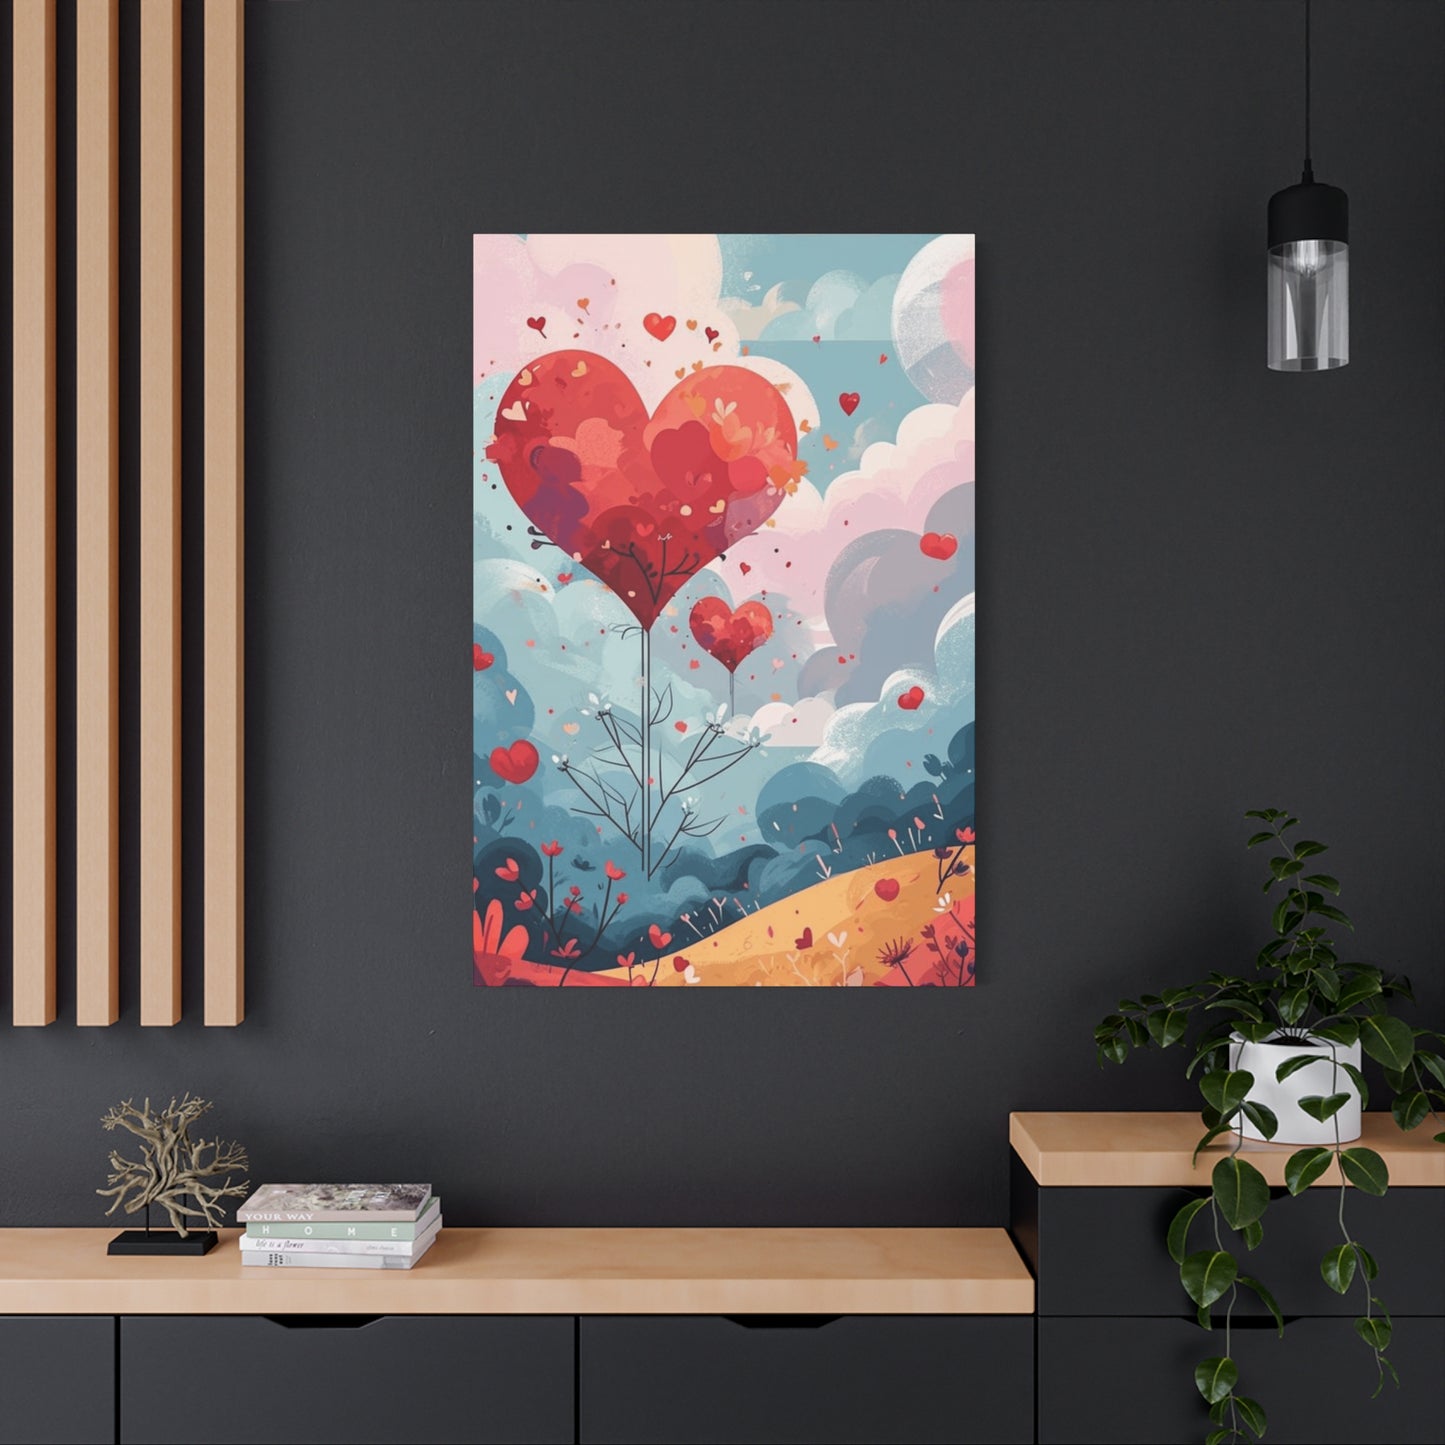
Valentines Wall Art & Canvas Prints
Valentines Wall Art & Canvas Prints
Couldn't load pickup availability
Complete DIY Valentines Wall Art Tutorial - From Beginner to Expert
Creating handmade Valentine's Day wall art represents one of the most meaningful ways to express love and affection through creative endeavors. This comprehensive tutorial will guide you through every aspect of crafting beautiful string art pieces that will captivate hearts and transform any living space into a romantic haven. The art of string manipulation combined with thoughtful design creates pieces that speak volumes about the creator's dedication and the recipient's importance.
Understanding the Essence of Handcrafted Romantic Decor
The philosophy behind creating Valentine's Day wall art extends far beyond simple craft projects. When you embark on this creative journey, you're essentially weaving emotions into tangible form, creating a physical manifestation of intangible feelings. The process itself becomes a meditation on love, patience, and artistic expression. Every nail placement, every string wrap, every color choice contributes to a narrative that speaks directly to the heart.
String art, as a medium, offers unique advantages for romantic expression. The interplay between geometric precision and organic flow mirrors the complexity of human relationships. The negative spaces created by the string patterns often become as important as the filled areas, creating depth and visual interest that evolves as lighting conditions change throughout the day. This dynamic quality ensures that your creation remains engaging and discoverable long after its initial presentation.
The historical context of string art dates back centuries, with various cultures developing their own interpretations of thread-based artistic expression. Modern string art emerged in the 1960s as an accessible form of geometric art, but its application to romantic themes transforms it into something far more personal and emotionally resonant. The methodical nature of the craft provides creators with time to reflect on their relationships while their hands work to bring beauty into existence.
Consider the psychological impact of handmade gifts versus purchased items. When someone receives a handcrafted piece, they understand immediately that significant time, effort, and thought went into its creation. This understanding creates an emotional connection that transcends the physical object itself. The recipient knows that during the hours spent creating this piece, they were at the forefront of the creator's mind, making the gift a tangible representation of devoted attention and care.
The versatility of string art allows for endless personalization possibilities. Unlike mass-produced decorations, each handcrafted piece carries unique characteristics influenced by the creator's individual style, choice of materials, and personal interpretation of the design. These subtle variations ensure that no two pieces are ever identical, making each creation truly one-of-a-kind.
The therapeutic benefits of engaging in string art cannot be understated. The repetitive motions involved in wrapping string create a meditative state similar to knitting or other repetitive crafts. This mindful engagement helps reduce stress while providing a sense of accomplishment as the design gradually takes shape. For couples working on these projects together, the shared creative experience can strengthen bonds and create lasting memories associated with the finished piece.
Selecting Your Creative Foundation and Materials
The foundation of any successful string art project lies in choosing the appropriate base material and understanding how different options affect the final outcome. Wood planks remain the traditional favorite due to their durability, natural beauty, and ability to securely hold nails. However, the type of wood you select significantly impacts both the working process and the aesthetic result.
Pine wood offers an excellent starting point for beginners due to its softness, which makes nail insertion easier while still providing adequate holding power. The light color of pine creates beautiful contrast with darker threads, while its subtle grain patterns add visual interest without overwhelming the string design. Cedar provides similar workability with the added benefit of natural aromatics that can enhance the sensory experience of the finished piece.
For those seeking more dramatic visual impact, hardwoods like oak or maple provide rich, distinctive grain patterns and superior durability. However, these materials require more effort during nail placement and may necessitate pre-drilling holes to prevent wood splitting. The investment in harder woods pays dividends in longevity and perceived value, making them ideal for pieces intended as significant gifts or permanent home decor.
Canvas presents an entirely different creative opportunity, offering a softer, more contemporary aesthetic. The fabric surface allows for push-pin attachment, eliminating the need for hammering and making the project more accessible to younger participants or those working in noise-sensitive environments. Canvas also accepts various artistic treatments like painting or staining, enabling creators to add background elements that complement the string design.
Styrofoam represents the most accessible option for family projects or classroom settings. Its lightweight nature, ease of pin insertion, and forgiving surface make it ideal for experimental designs or temporary displays. While lacking the permanence and gravitas of wood or canvas, styrofoam allows for bold experimentation without significant material investment.
The string selection process deserves careful consideration as it directly impacts both the creation experience and the final appearance. Cotton threads provide excellent workability with comfortable texture and vibrant color retention. Their slight stretch characteristics allow for proper tension without excessive stress on attachment points. Synthetic fibers like polyester offer superior color fastness and durability but may feel less pleasant during the wrapping process.
Embroidery floss provides the widest color selection and allows for sophisticated gradient effects through careful color blending. The divisible nature of embroidery floss enables creators to adjust strand thickness based on design requirements, creating varying visual weights within a single piece. Metallic threads introduce glamour and light reflection, though they require more careful handling due to their tendency to tangle.
Yarn selection opens up entirely different creative possibilities, with thickness variations creating bold, dramatic effects. Wool yarns provide rich textures and natural color variations, while cotton yarns offer clean, consistent appearance with superior durability. The choice between matte and lustrous finishes affects how the piece interacts with ambient lighting, influencing the overall mood and presence of the finished work.
Mastering Design Principles for Romantic Expression
The journey from concept to creation requires understanding fundamental design principles that transform simple string arrangements into compelling artistic statements. Successful Valentine's Day wall art balances visual elements to create pieces that feel both harmonious and dynamic, capturing attention while maintaining emotional resonance.
Proportion plays a crucial role in determining the impact and appropriateness of your creation. Consider the intended display location when planning dimensions, ensuring the finished piece complements rather than overwhelms its surroundings. Smaller, intimate pieces work beautifully in bedrooms or personal spaces, while larger statement pieces can anchor living areas or serve as focal points in entryways.
The golden ratio, approximately 1.618 to 1, provides a mathematically pleasing proportion that humans find naturally attractive. Incorporating these proportional relationships into your design elements creates subconscious appeal that enhances the overall effectiveness of the piece. This principle applies to both the overall dimensions and the relationships between individual design elements within the composition.
Color psychology significantly influences emotional response to visual art. Traditional Valentine's colors like deep reds and soft pinks evoke romance and passion, while expanded palettes can communicate more nuanced emotions. Burgundy and wine tones suggest mature, sophisticated love, while coral and salmon hues convey warmth and comfort. Consider the recipient's personality and preferences when making color selections, as personal relevance enhances emotional connection.
Contrast creates visual interest and helps define important design elements. High contrast between string colors and background materials ensures clear definition of patterns, while subtle tonal variations create sophisticated depth. Experiment with complementary color relationships to achieve vibrant energy, or explore analogous color schemes for more harmonious, soothing effects.
Texture considerations extend beyond string selection to encompass the entire visual and tactile experience. Mixing different string types within a single piece creates rich textural variety, while consistent materials maintain clean, unified appearance. Consider how different textures catch and reflect light differently, as these variations contribute to the piece's ability to maintain visual interest throughout changing lighting conditions.
Balance encompasses both visual weight distribution and symbolic meaning within romantic contexts. Symmetrical designs convey stability and harmony, reflecting the balance sought in healthy relationships. Asymmetrical arrangements can suggest growth, change, and the dynamic nature of evolving partnerships. Consider which message aligns with your intended expression when planning the overall composition.
Movement within static art pieces keeps viewers engaged and creates emotional dynamism. String art naturally incorporates movement through the directional flow of threads, but conscious planning amplifies this effect. Consider how the eye travels through the piece, creating visual paths that guide attention to important focal points or create pleasing circular patterns that invite prolonged viewing.
Planning Your Masterpiece with Precision
Successful string art projects begin with thorough planning that considers every aspect from initial concept to final presentation. This preparatory phase determines the difference between amateur-looking crafts and professional-quality art pieces worthy of prominent display and lasting appreciation.
Begin by creating multiple thumbnail sketches exploring different approaches to your chosen theme. These quick studies allow for rapid experimentation without material commitment, helping identify the most promising concepts for further development. Consider various heart interpretations, from anatomically inspired designs to geometric abstractions, each offering different expressive possibilities.
Scale planning prevents disappointment and ensures appropriate material quantities. Create full-size paper templates to visualize the finished piece in its intended location. This step reveals potential issues with proportion or complexity before beginning work with permanent materials. Test different arrangements and orientations to optimize the design's impact within its display context.
Mathematical planning ensures professional results and efficient material usage. Calculate nail spacing based on string thickness and desired coverage density. Too-close spacing creates muddy, overfilled appearance, while excessive spacing leaves gaps that weaken the overall impact. Document these calculations for future reference and consistent results across multiple pieces.
Pattern planning involves mapping the string routing to achieve desired visual effects while minimizing waste and complexity. Develop systematic approaches that create even coverage while avoiding excessive tangling or difficult-to-manage thread paths. Consider starting points that position knots in less visible locations and ending points that allow for clean finishing.
Color mapping becomes crucial for multi-colored designs, requiring careful planning to achieve smooth transitions and avoid muddy mixing in overlap areas. Create color samples on your chosen background material to ensure harmonious relationships and adequate contrast. Plan color changes at strategic points that enhance rather than interrupt the overall flow of the design.
Tool organization and workspace preparation contribute significantly to project success and enjoyment. Arrange all materials within easy reach and ensure adequate lighting for detailed work. Prepare storage solutions for partially completed projects, as larger pieces may require multiple working sessions. Consider ergonomic factors that affect comfort during extended crafting periods.
Quality control checkpoints throughout the planning process help identify potential problems before they become costly mistakes. Review proportions, material calculations, and technical feasibility at each planning stage. Seek feedback from others when possible, as fresh perspectives often reveal overlooked considerations that improve the final outcome.
Creating Templates and Patterns for Success
Template creation forms the bridge between conceptual planning and physical execution, providing the precise guidance necessary for professional-quality results. Well-designed templates eliminate guesswork, ensure consistency, and allow creators to focus on the meditative aspects of the crafting process rather than technical concerns.
Paper templates offer the most accessible starting point, requiring only basic drafting materials and printer access. Begin with simple geometric shapes, perfecting your template-making skills before attempting more complex designs. Use heavy paper or cardstock for durability, as templates may require multiple uses during the marking and checking process.
Computer-generated templates provide precision and infinite modification possibilities. Vector graphics programs create scalable designs that maintain crisp edges at any size, while basic drawing programs suffice for simpler projects. Print templates in sections for larger projects, carefully aligning sections to maintain accuracy across the entire design.
Transfer techniques vary in complexity and permanence. Carbon paper provides clean, easily visible marks that guide nail placement without damaging the base material. Temporary adhesive templates can be repositioned as needed but require careful removal to avoid surface damage. Direct tracing with removable marking tools offers flexibility but requires steady hands for accurate results.
Registration marks ensure proper template alignment and enable precise repositioning if adjustments become necessary. Include corner marks, center lines, and reference points that correspond to base material edges or other fixed features. These guides prove invaluable when working with complex, multi-part templates or when project completion spans multiple sessions.
Nail spacing calculations directly impact the final appearance and string requirements. Closer spacing creates denser, more solid appearance but requires significantly more string and working time. Wider spacing produces more open, delicate effects but may appear sparse if taken to extremes. Test different spacing options on template corners or less visible areas before committing to the full design.
Pattern libraries develop naturally as you create multiple projects, building a personal collection of proven designs and techniques. Document successful templates with notes about materials used, challenges encountered, and potential improvements. This reference collection accelerates future projects and enables consistent quality across multiple pieces.
Adaptation techniques allow single templates to generate multiple distinct designs through creative modifications. Rotate, flip, or combine template elements to create entirely new compositions. Scale adjustments create harmonious series of related pieces in different sizes. These techniques maximize the value of template development time while building coherent collections of related works.
Workspace Setup for Optimal Creativity
Creating an environment conducive to successful string art projects requires thoughtful consideration of physical comfort, tool organization, and creative inspiration. The workspace directly influences both the quality of the finished product and the enjoyment derived from the creation process.
Lighting represents the most critical environmental factor, as inadequate illumination causes eye strain and makes precise work difficult. Natural daylight provides the most accurate color representation, making window-adjacent workspaces ideal for color-critical projects. Supplement natural light with adjustable task lighting that eliminates shadows without creating glare. LED lights offer consistent color temperature and reduced heat generation during extended working sessions.
Surface preparation ensures stability and protects both the work piece and the underlying furniture. Dedicated craft tables provide ideal height and surface characteristics, but dining tables can serve with appropriate protection. Use cutting mats or thick cardboard to prevent nail points from damaging surfaces underneath. Ensure the work surface remains level and stable during hammering operations.
Tool organization systems keep essential items within easy reach while maintaining an uncluttered workspace. Rolling tool carts provide mobile storage that adapts to different working positions. Magnetic strips hold metal tools securely while keeping them visible and accessible. Compartmentalized containers prevent small items like nails or pins from becoming mixed or lost.
Ventilation considerations become important when using finishing materials like paints, stains, or protective coatings. Ensure adequate air circulation to prevent accumulation of potentially harmful vapors. Position fans to remove fumes without creating air currents that might disturb lightweight materials or partially completed work.
Safety equipment should be readily available and consistently used throughout the project. Safety glasses protect against flying debris during nail insertion or accidental string snappage. Work gloves provide grip enhancement and protection from rough materials, though some creators prefer the tactile sensitivity of bare hands for string manipulation. Keep a first aid kit nearby for minor cuts or punctures.
Ergonomic considerations prevent fatigue and injury during extended crafting sessions. Adjustable seating supports proper posture while allowing position changes to prevent stiffness. Footrests reduce leg strain when working at elevated surfaces. Take regular breaks to stretch and rest eyes, maintaining both physical comfort and mental focus.
Creative inspiration elements within the workspace can enhance motivation and artistic vision. Display examples of admired work, whether personal creations or inspirational pieces found online or in publications. Keep sketchbooks and reference materials easily accessible for spontaneous idea capture. Consider background music or other ambient elements that promote creative flow without becoming distracting.
Preparing Materials for Professional Results
Material preparation extends far beyond simple inventory checking, encompassing conditioning, organization, and pre-treatment steps that significantly impact the final project outcome. Professional craftspeople understand that preparation time invested at the project's beginning pays dividends throughout the creation process.
Wood conditioning ensures optimal nail holding power and attractive appearance. Sand all surfaces with progressively finer grits, beginning with 120-grit and finishing with at least 220-grit paper. This process removes rough spots that might snag strings while creating uniform surface texture that accepts stains or protective finishes evenly. Pay particular attention to edges and corners where handling occurs most frequently.
Moisture content affects both workability and long-term stability. Wood with excessive moisture content may shrink during drying, loosening nails and distorting string patterns. Allow kiln-dried lumber to acclimate to your workspace environment for several days before beginning work. Use a moisture meter if precision is critical, aiming for 6-8% moisture content for optimal stability.
Pre-finishing considerations depend on the desired final appearance and intended display environment. Natural wood exhibits beautiful grain patterns but requires protection from moisture and UV exposure. Clear protective finishes like polyurethane provide durability while preserving natural appearance. Stains enhance or modify wood color while maintaining grain visibility. Paint creates uniform color and texture but completely obscures natural wood characteristics.
Nail selection impacts both the creation process and long-term durability. Finish nails provide clean appearance with minimal head size but may pull out under string tension. Common nails offer superior holding power but create more prominent heads that may detract from delicate designs. Brass or stainless steel nails resist corrosion in humid environments while adding subtle color elements to the overall design.
Thread preparation prevents tangling and ensures smooth wrapping operations. Pre-cut working lengths eliminate the need to manage long, unwieldy strands during creation. Lengths between 36 and 48 inches provide good working characteristics for most applications. Wind cut lengths loosely on cards or small spools to prevent kinking and facilitate easy unwinding during use.
Color organization systems prevent confusion and enable smooth transitions in multi-colored projects. Separate different colors into clearly labeled containers or organize them in spectrum order for easy selection. Create color samples on the actual base material to ensure accurate color relationships under working conditions. Document color codes or dye lot numbers for future matching if needed.
Quality inspection of all materials before beginning prevents disappointments and delays once work commences. Check wood for defects like knots, splits, or warping that might interfere with nail placement or final appearance. Test string strength by pulling short sections to failure, ensuring adequate strength for intended tensioning. Verify nail consistency in length and diameter to ensure uniform appearance across the entire project.
Mastering Nail Placement Precision
The foundation of exceptional string art lies in precise nail placement, a skill that requires practice, patience, and understanding of underlying principles. Each nail serves as both an anchor point and a design element, making accuracy crucial for both structural integrity and visual appeal. Developing consistent nail placement techniques transforms amateur projects into professional-quality artwork.
Begin nail placement with careful measurement and marking, using your prepared template as the definitive guide. Transfer template marks to the base material using methods appropriate for your chosen surface. For wood, light pencil marks provide sufficient guidance without permanent marking. Awl points create small dimples that help position nails accurately while preventing lateral drift during hammering.
Hammer technique significantly influences both accuracy and efficiency. Hold the hammer near the end of the handle for maximum control and leverage. Begin with gentle taps to set the nail point, ensuring perpendicular orientation before applying full force. Maintain consistent rhythm and pressure to achieve uniform nail depth across the entire project. Practice on scrap material until muscle memory develops for consistent results.
Depth consistency creates professional appearance and ensures adequate string clearance above the base surface. Nails driven too shallow may pull out under string tension, while excessive depth creates unnecessary material stress and weak holding. Aim for depth that leaves approximately one-quarter inch of nail shaft exposed, adjusting based on string thickness and desired visual effect.
Angle precision prevents nails from interfering with string patterns or creating visual irregularities. Use a small square or angle guide to ensure perpendicular orientation, especially critical for beginners still developing consistent technique. Slightly angled nails create problems during string wrapping and may cause patterns to appear distorted or uneven.
Problem correction techniques address inevitable mistakes without compromising the overall project. Bent nails can often be straightened with careful hammer work, though severely damaged nails should be removed and replaced. Use needle-nose pliers to grip nail heads when removal becomes necessary, protecting surrounding wood with thin material padding. Pre-drilling pilot holes prevents wood splitting in problematic areas.
Progressive complexity building develops skills systematically while maintaining motivation through achievable challenges. Start with simple geometric shapes featuring widely spaced nails before attempting intricate designs. Master basic techniques on less visible portions of the design before tackling focal point areas. This approach builds confidence while ensuring consistent quality throughout the project.
Quality control checkpoints throughout the nail placement process prevent cumulative errors that become difficult to correct later. Step back periodically to assess overall progress and identify any irregularities before they multiply. Use a straightedge to verify alignment of linear sections and curves. Address problems immediately rather than hoping they become less noticeable as work progresses.
String Routing Strategies for Visual Impact
String routing transforms individual anchor points into cohesive artistic statements, requiring strategic planning to achieve desired visual effects while maintaining practical workability. Understanding different routing approaches enables creators to match techniques with artistic vision, creating pieces that effectively communicate intended emotions and aesthetics.
Linear routing creates clean, geometric effects ideal for contemporary design aesthetics. This approach involves systematic progression from one nail to the next, building coverage through multiple passes rather than complex routing patterns. Linear techniques work particularly well for heart outlines and angular designs where clarity of form takes precedence over complex internal patterns.
Radial routing emanates from central points, creating dynamic energy that draws the eye inward and suggests movement or expansion. Begin radial patterns from carefully selected focal points, typically located at intersections of major design elements. This technique proves especially effective for creating background elements that support without overwhelming primary design features.
Spiral routing generates organic, flowing effects that suggest natural growth patterns and create visual rhythm through repetition. Begin spiral patterns from edge locations and work inward, maintaining consistent spacing between passes. This approach requires careful planning to ensure the spiral terminus occurs in an inconspicuous location where ending knots can be hidden effectively.
Random routing produces complex, layered appearances that reward close examination while maintaining overall coherence. Success with random techniques requires understanding of color and texture relationships to prevent muddy or chaotic results. Use random routing sparingly, typically as accent elements within more structured overall compositions.
Directional considerations influence both the visual impact and the ease of creation. String direction affects how light reflects from the finished piece, creating opportunities for sophisticated lighting effects. Plan routing to take advantage of primary lighting sources, directing strings to enhance rather than fight natural illumination patterns.
Tension management ensures consistent appearance and prevents structural problems. Maintain steady, moderate tension throughout the routing process, avoiding both loose sections that appear sloppy and over-tight areas that stress anchor points or create uneven coverage. Develop consistent hand positions and movements that naturally produce appropriate tension levels.
Coverage optimization balances visual density with material efficiency and working time. Dense coverage creates solid, substantial appearance but requires significant string quantities and extended working periods. Strategic coverage variation creates visual interest through alternating dense and open areas, allowing negative space to contribute to the overall composition.
Color Theory Application in String Art
Color selection and application in string art requires understanding both traditional color theory and the unique characteristics of thread-based media. Unlike painting or other artistic mediums, string art colors blend through physical overlap and visual mixing, creating opportunities for sophisticated color effects while presenting unique challenges for color control.
Primary color relationships form the foundation for all color planning decisions. Red, blue, and yellow primaries provide the basic palette for traditional Valentine's themes while offering unlimited mixing possibilities. Understanding how primaries interact when physically overlapped guides decisions about string routing and layering sequences to achieve desired color effects.
Secondary and tertiary color relationships expand creative possibilities while requiring careful planning to avoid muddy results. Green, orange, and purple secondaries create vibrant contrasts with their primary complements. Tertiary colors like red-orange and blue-violet offer subtle variations that add sophistication without overwhelming the overall color scheme.
Warm and cool color distributions influence emotional response and visual balance. Warm colors like reds, oranges, and yellows advance visually and create excitement, while cool blues, greens, and purples recede and provide calm balance. Strategic placement of warm and cool elements creates depth and guides viewer attention to important design focal points.
Value relationships between different string colors affect contrast and readability of design elements. High contrast between light and dark values ensures clear definition of pattern elements, while low contrast creates subtle, sophisticated effects that reward close viewing. Plan value distributions to support the overall design hierarchy and ensure important elements receive appropriate visual emphasis.
Saturation levels influence both the emotional impact and the longevity of appeal. Highly saturated colors create immediate impact but may become tiresome over time, while muted colors provide lasting appeal that works well in residential settings. Consider the intended display duration and environment when selecting saturation levels for optimal long-term satisfaction.
Color temperature consistency creates harmonious effects that feel unified and professionally planned. Warm versions of all colors create cozy, intimate feelings appropriate for personal spaces, while cool versions suggest sophistication and contemporary style. Mixing warm and cool temperatures within single pieces requires careful balancing to avoid visual conflict.
Gradient creation through string layering produces sophisticated effects that demonstrate advanced skill levels. Begin with lighter values and build darker tones through successive layers, allowing underlying colors to show through for rich, complex results. This technique requires precise planning and consistent execution but produces results impossible to achieve through other methods.
Tensioning Techniques for Professional Results
Proper string tension separates amateur projects from professional-quality artwork, affecting both immediate visual appeal and long-term structural integrity. Understanding tension principles and developing consistent application techniques ensures projects maintain their intended appearance throughout their display lifetime.
Initial tension establishment sets the foundation for all subsequent work. Begin with slightly less tension than the final target, allowing for adjustment as patterns develop and string characteristics become apparent. Different string materials exhibit varying stretch and recovery properties, requiring individual assessment and adjustment of tensioning techniques.
Consistent tension maintenance throughout long working sessions requires attention to both physical technique and environmental factors. Hand fatigue naturally leads to inconsistent tension as work progresses, making regular breaks essential for maintaining quality standards. Temperature and humidity changes affect string properties, requiring tension adjustments as working conditions evolve.
Progressive tensioning builds final string tightness gradually through multiple passes rather than attempting to achieve final tension in single applications. This approach distributes stress more evenly across anchor points and allows for minor adjustments as overall patterns become apparent. Begin with moderate tension and increase gradually until desired tightness is achieved.
Anchor point stress distribution prevents individual nail failure while maintaining overall pattern integrity. Avoid concentrating excessive tension on single anchor points, instead distributing loads across multiple adjacent nails through strategic routing patterns. Monitor anchor points for signs of stress like nail bending or wood compression around nail heads.
Environmental compensation accounts for changes in string properties due to temperature and humidity variations. Natural fibers exhibit more dimensional change than synthetics, requiring greater allowance for environmental effects. Plan projects to allow for moderate tightening or loosening after installation in their final display environment.
Problem identification and correction techniques address tension irregularities before they compromise overall project quality. Loose sections can often be corrected by rerouting through additional anchor points or replacing affected string segments. Over-tight areas may require partial disassembly and rework to prevent structural failure.
Final tension assessment ensures optimal appearance and longevity before project completion. Test tension consistency across the entire project, looking for variations that create visual irregularities or suggest structural problems. Make final adjustments while access to all project areas remains convenient, as post-completion corrections prove difficult and may damage surrounding work.
Advanced Pattern Development Methods
Pattern development transforms basic string routing into sophisticated artistic statements that demonstrate mastery of the medium while creating visually compelling results. Advanced pattern techniques require understanding of both geometric principles and artistic composition, enabling creators to design original patterns that effectively communicate intended messages and emotions.
Geometric pattern foundations provide structured frameworks that ensure visual coherence while allowing for creative interpretation. Mathematical relationships like the golden ratio, Fibonacci sequences, and regular polygonal divisions create inherently pleasing proportional relationships that enhance viewer appeal. Study classic geometric patterns for inspiration while developing personal variations that reflect individual artistic vision.
Organic pattern interpretation translates natural forms into string art compositions that maintain recognizable characteristics while adapting to the constraints of the medium. Natural patterns like leaf veins, flower structures, and growth spirals provide rich inspiration for romantic themes while offering scalable complexity suitable for various skill levels.
Layering strategies create visual depth and complexity through careful planning of string routing sequences. Background layers provide foundation structure while foreground elements add detail and focal points. Plan layering sequences to ensure adequate access for string placement while building complexity systematically from general to specific elements.
Intersection planning addresses the complex visual and structural challenges that occur where string patterns cross or overlap. Strategic intersection placement can create focal points, define spatial relationships, or provide structural reinforcement. Plan intersections to enhance rather than complicate overall pattern readability and visual flow.
Negative space utilization recognizes the importance of unfilled areas in creating visual balance and preventing overwhelming complexity. Negative spaces provide visual rest areas that enhance the impact of filled regions while contributing to overall compositional balance. Plan negative space shapes as carefully as filled areas to ensure they contribute positively to the overall design.
Symmetry and asymmetry applications create different emotional responses and visual dynamics within string art compositions. Symmetrical patterns suggest stability, balance, and harmony, making them appropriate for themes emphasizing relationship balance and security. Asymmetrical arrangements create visual tension and movement, suitable for expressing growth, change, or dynamic energy within relationships.
Pattern documentation preserves successful techniques and enables consistent replication of effective approaches. Document routing sequences, color applications, and tension specifications for patterns that produce particularly pleasing results. Create template libraries that capture both the geometric framework and the specific techniques required for successful execution of complex patterns.
Quality Control and Finishing Excellence
Quality control throughout the creation process ensures professional results that reflect positively on both the creator's skill and the recipient's importance. Systematic quality assessment prevents small problems from becoming major flaws while building habits that consistently produce superior results.
Progressive inspection techniques identify problems early when corrections remain feasible and economical. Stop periodically during string placement to assess progress from normal viewing distance, as close working positions may obscure problems visible to ultimate viewers. Check for consistent nail placement, uniform string tension, and proper color distribution before problems multiply.
Consistency verification ensures uniform appearance across the entire project area. Use measuring tools to check spacing accuracy, especially in complex patterns where small errors accumulate into visible irregularities. Compare similar pattern elements to ensure consistent sizing, orientation, and execution quality throughout the project.
Structural integrity assessment prevents failure after installation while ensuring the project can withstand normal handling and environmental stresses. Test string tension in critical areas, checking for adequate anchor point engagement and signs of stress concentration. Verify that all connections are secure and that the overall structure feels solid and stable.
Visual impact evaluation assesses the project's success in achieving intended artistic goals. View the completed work under various lighting conditions to ensure consistent appeal and identify any areas that appear problematic under specific illumination. Consider how the piece will appear in its intended display location and make adjustments as needed.
Detail refinement addresses minor imperfections that detract from overall professional appearance. Trim excess string ends cleanly and position knots in inconspicuous locations. Clean any construction marks or debris from the base material. Ensure all elements appear intentional and contribute positively to the overall effect.
Protective finishing extends project lifespan while enhancing visual appeal. Consider appropriate protective treatments based on the intended display environment and expected handling. UV-resistant finishes protect against fading in sunny locations, while moisture barriers prevent damage in humid environments.
Final documentation captures the completed project's specifications and techniques for future reference and potential replication. Photograph the finished piece under various lighting conditions to preserve visual records. Document material specifications, pattern details, and any unique techniques developed during the creation process for future application to similar projects.
Exploring Alternative Material Combinations
The realm of string art extends far beyond traditional wood and cotton thread combinations, offering endless opportunities for creative expression through innovative material choices. Understanding the characteristics and potential applications of alternative materials opens new avenues for artistic exploration while enabling creators to match their projects perfectly with intended aesthetics and functional requirements.
Metal surfaces provide contemporary appeal with unique functional advantages for string art applications. Aluminum sheets offer lightweight durability with natural corrosion resistance, making them suitable for both indoor and outdoor installations. The smooth surface accepts magnetic attachment systems that eliminate the need for permanent perforation while allowing pattern adjustments throughout the creation process. Steel surfaces provide superior strength for large-scale installations while offering opportunities for powder coating in custom colors that complement string selections.
Magnetic nail systems revolutionize the creation process by eliminating hammering noise and enabling infinite repositioning of anchor points. Neodymium magnets provide exceptional holding power while maintaining low profile appearance that doesn't distract from string patterns. This system proves particularly valuable for apartment dwellers, classroom settings, or situations where noise reduction is important. The ability to adjust anchor point positions throughout the creation process enables experimental approaches that would be impossible with permanent nail placement.
Fabric substrates offer textile artists familiar working surfaces while introducing unique textural elements impossible to achieve with rigid base materials. Canvas provides traditional artist appeal with excellent push-pin compatibility and paint receptivity for background treatments. Burlap creates rustic charm while offering excellent grip for push pins and interesting texture contrasts with smooth strings. Felt provides rich color options while accepting both pin and adhesive attachment methods.
Cork surfaces combine natural appeal with excellent pin-holding characteristics and inherent sound-dampening properties. Natural cork maintains environmental sustainability while providing warm, organic appearance that complements natural fiber strings beautifully. Colored cork sheets expand design possibilities while maintaining pin-holding advantages. The natural elasticity of cork accommodates minor alignment errors while providing forgiving surface characteristics for beginning practitioners.
Foam alternatives range from simple styrofoam to sophisticated architectural foams that offer professional durability with lightweight handling characteristics. High-density foams accept pins securely while providing smooth, uniform surfaces that highlight string patterns effectively. Colored foams eliminate the need for surface treatments while providing vibrant backgrounds that enhance string color impact. Textured foams add surface interest while maintaining pin-holding functionality.
Composite materials combine multiple material advantages while often providing cost benefits compared to premium single materials. Plywood offers wood appearance with superior dimensional stability and reduced cost compared to solid lumber. Medium-density fiberboard provides smooth, uniform surfaces that accept paint beautifully while maintaining excellent nail-holding characteristics. Oriented strand board offers interesting texture patterns while providing structural advantages for large installations.
Surface preparation techniques vary significantly between different base materials, requiring specific approaches for optimal results. Metal surfaces benefit from light abrasion to improve paint adhesion and provide slight texture for enhanced pin grip. Fabric substrates may require sizing or stiffening treatments to provide adequate support for string tension. Understanding material-specific preparation requirements ensures professional results regardless of chosen substrate combinations.
Conclusion
Mixed media integration transforms traditional string art into sophisticated multimedia compositions that engage viewers through diverse textural, visual, and even tactile elements. Strategic incorporation of additional materials enhances storytelling capabilities while creating unique pieces that transcend conventional craft project boundaries.
Paint integration offers the most accessible mixed media enhancement, providing background colors, gradient effects, or detailed imagery that complements string patterns. Acrylic paints work well with most base materials while providing excellent color stability and fast drying characteristics. Watercolor techniques create subtle background washes that enhance string colors without competing for attention. Spray paint applications create smooth gradients or stenciled patterns that provide sophisticated backgrounds for string work.
Photographic elements personalize string art projects while creating meaningful connections between abstract patterns and specific relationships or memories. Digital printing on fabric allows seamless integration with textile substrates while maintaining flexibility and washability. Photo transfers to wood surfaces create permanent integration while preserving natural wood characteristics around transferred images. Consider sizing and placement carefully to ensure photographic elements enhance rather than compete with string patterns.
Fabric applique techniques introduce textile arts traditions while expanding textural possibilities within string art compositions. Felt appliques provide rich colors and interesting textural contrasts while accepting both adhesive and sewn attachment methods. Lace elements suggest romantic themes while creating delicate visual textures that complement fine string work beautifully. Consider fabric weight and drape characteristics when planning integration methods to ensure long-term adhesion and appearance.
Natural material incorporation connects string art projects with environmental themes while introducing organic textures and forms that contrast beautifully with geometric string patterns. Pressed flowers preserve natural beauty while maintaining flat profiles that integrate seamlessly with string work. Small stones or shells provide textural accents while suggesting specific locations or memories associated with romantic relationships.
Metallic accents add glamour and light-catching properties that enhance visual impact under various lighting conditions. Metallic threads woven through traditional string patterns create sophisticated highlighting effects. Small metal charms or findings add three-dimensional elements while maintaining appropriate scale relationships. Consider tarnish resistance when selecting metallic elements for long-term installations.
Share