
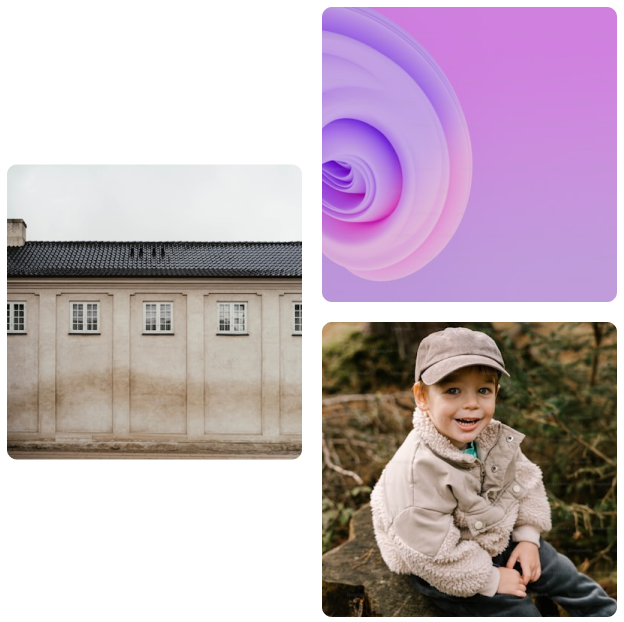
Celebrate Your Story on Canvas – One Memory at a Time
Whether it's a milestone, a memory, or a simple joy, we’re here to make it a lasting part of your home.
-

Add Photos
-

We Deliver
-

You Stick


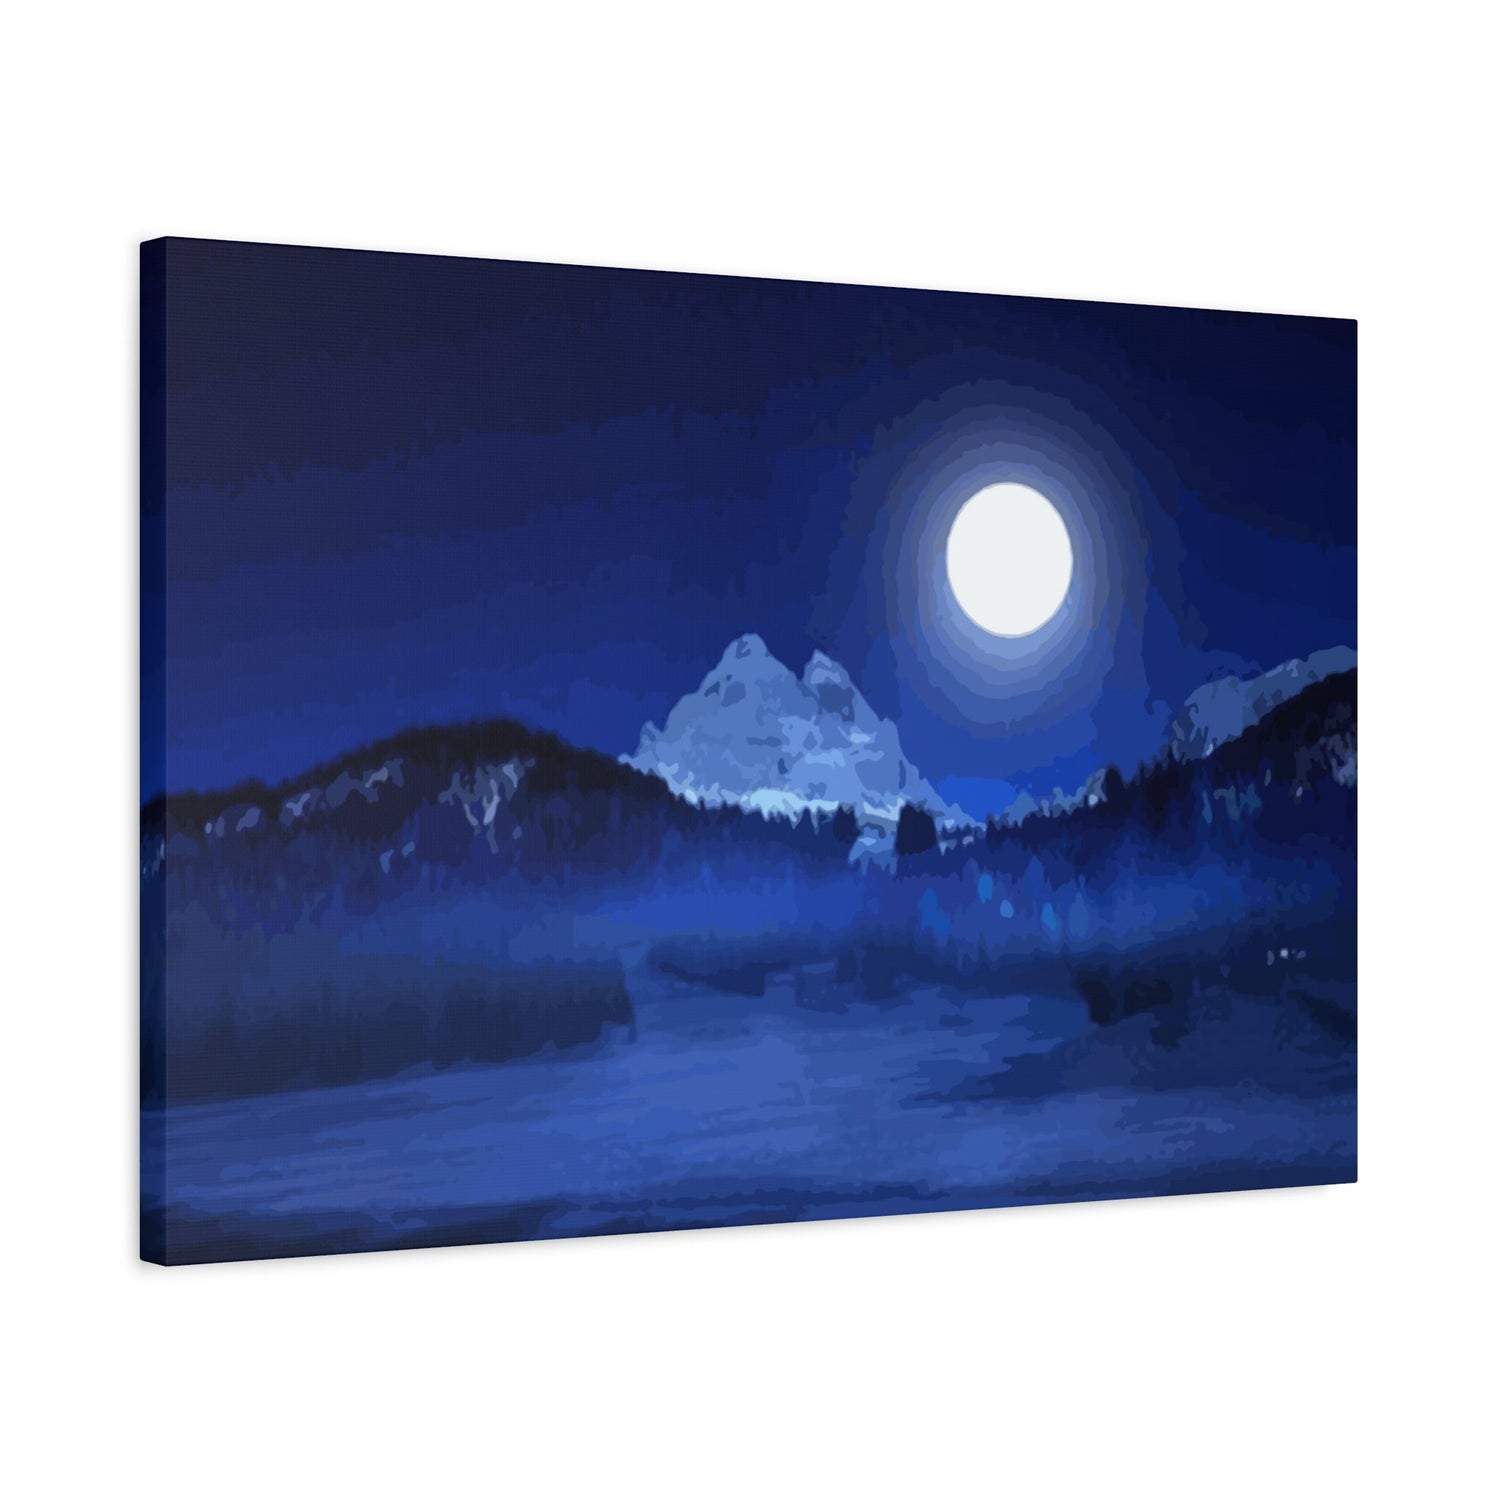
Or Select From Our Wide Range of Collections
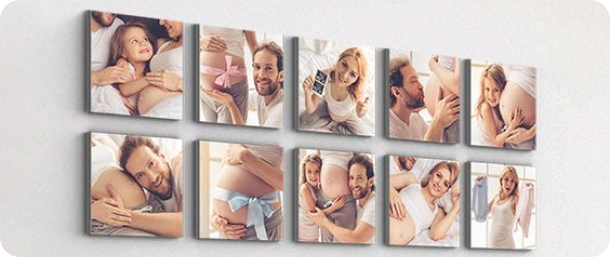
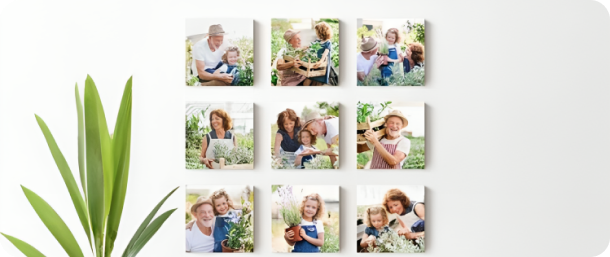
Turn your favorite phone pics into prints that stick and restick.
They’re removeable, reusable, and leave no marks.
How it Works
-

1
Upload a photo or choose from our canvas
-
2
The art is printed and shipped to you

Happiness Guaranteed

Reviews That Made Our Day
Up to 40% off + Free Shipping
“I was impressed with the quality of the canvas prints from Prints4Sure. The colors are vibrant, and the image clarity is excellent—true to what I uploaded. The materials feel durable, and they arrived in perfect condition.”

“I love that I can rearrange them without damaging my walls, and they’re perfect for renters or anyone looking for a hassle-free personal story décor solution. They adhere well and are easy to reposition."
“I wanted to create a keepsake for my grandparents’ 50th wedding anniversary. I uploaded a photo from their wedding day and added one from a recent family gathering for a ‘Then and Now’ theme. The detail was beautiful, and it was so clear despite the older photo."
“I recently got married, and my husband and I ordered a large canvas of our favorite wedding photo from Prints4Sure. When it arrived, I almost cried—everything looked stunning, from the clarity of our faces to the warmth of the colors."
-

Rated 4.9 on the Appstore
Based on 80,000+ Reviews
-

-

Rated Excellent on Trustpilot
Based on 10,000+ Reviews

Transforming Glass Photos into Unique Wall Art
Glass photography holds a magnetic quality that few other artistic mediums can replicate. The way light bends, scatters, and dances through transparent surfaces creates a visual language that feels both familiar and completely otherworldly. When you capture a glass object — whether it is a wine glass catching afternoon sunlight, a crystal ornament refracting rainbow patterns across a wall, or a rain-covered window dissolving a cityscape into abstract color — you are recording a moment that exists only once. That singular image, when printed and mounted properly, becomes something far greater than a photograph. It becomes a conversation piece, a focal point, and a personal statement about how you see beauty in everyday objects. The journey from clicking the shutter to hanging a finished piece on your wall involves creative decisions that shape the final impact enormously.
Many people underestimate how much potential lives inside their glass photography collections. Hundreds of images sit in digital folders, never printed, never displayed, never given the chance to fulfill their visual purpose. This article walks through every meaningful step of that transformation process, from identifying which shots are worthy of large-format printing to choosing the right materials, finishes, and mounting strategies that honor what makes glass photography so special. By the end, you will have a clear picture of how to take your existing images and turn them into wall art that genuinely elevates your living or working space.
Selecting the Right Shot
Not every glass photograph translates equally well to large wall art, and learning to identify the strongest candidates saves both money and disappointment. The best shots for wall display tend to have strong compositional anchors — a clear subject with intentional negative space, or a compelling abstract pattern that rewards prolonged viewing. When you are scrolling through your library, look for images where the light behavior is the star of the show rather than a secondary element. Images where reflections and refractions create geometric patterns, color gradients, or unexpected depth are particularly strong candidates for large-format printing because they offer viewers more to discover the longer they look.
Resolution matters enormously when you are thinking about wall-scale prints. A photo that looks sharp at phone size might reveal significant softness when stretched to 24 by 36 inches. Before committing to a print size, open your candidate images at 100% zoom in any standard photo editing application and examine the sharpest areas critically. Glass photography often requires fast shutter speeds to freeze reflections cleanly, and images shot in low light might have noise that becomes glaringly obvious at large sizes. Aim for images with a minimum of 20 megapixels for very large prints, though sharp technique at lower resolutions can sometimes compensate if the printing medium adds its own texture.
Lighting Captured on Film
The relationship between light and glass is the fundamental magic you are working with, and understanding it changes how you evaluate your images for wall art purposes. Glass does not simply transmit light — it bends it, splits it into spectral components, multiplies it through internal reflections, and sometimes intensifies it into concentrated beams. Each of these behaviors creates a distinct visual effect on camera, and each translates differently to a finished print. Backlit glass with strong rim lighting tends to produce dramatic silhouette effects with glowing edges, while side lighting emphasizes texture and surface imperfections in ways that feel tactile and three-dimensional.
When reviewing your shots for wall potential, consider how the lighting quality will read from across a room. High-contrast images with deep blacks and brilliant highlights carry visual energy from a distance and command attention in large spaces. Softer, more diffused lighting creates a quieter mood that works beautifully in intimate spaces like bedrooms or reading rooms. The color temperature of the light captured in your image also carries emotional weight — warm golden tones feel welcoming and calm, while cool blue tones feel modern and crisp. These qualities should align with the atmosphere of the room where the piece will hang, making lighting analysis a practical step in the selection process.
Color Profiles and Printing
One of the most common sources of disappointment in photo-to-wall-art projects is the gap between how an image looks on screen and how it appears in print. Screens emit light, while prints reflect it, and this fundamental difference means that colors almost always shift between display and final output. For glass photography specifically, the luminous quality of light captured in camera — that inner glow that makes the image feel alive — can flatten significantly if color management is not handled carefully. Working in a wide color space like Adobe RGB from the start of your editing process preserves more tonal information, giving the printer more data to work with.
Communicating with your printing service about color profiles before submitting files is time well spent. Professional print labs accept files in specific color spaces and use calibrated workflows that translate your digital file into accurate physical output. Ask about soft proofing options, which allow you to preview on screen how your image will look when printed on a specific paper or medium. Many online printing services now offer this feature through their websites. For glass photography, pay special attention to highlight retention — the bright, near-white areas where light glows through glass are critical to the image's impact and are often the first detail to blow out or shift in printing.
Paper and Canvas Choices
The physical medium you choose for printing has as much influence on the final artwork as any editing decision you make. For glass photography, which relies on luminosity and color depth, certain materials are clearly superior to others. Fine art matte papers produce an almost painterly quality that suits abstract glass compositions beautifully, softening edges and giving the image a timeless, gallery-appropriate presence. Glossy and semi-gloss papers, on the other hand, amplify the light and reflective qualities that make glass photography compelling, adding a visual vibrancy that mirrors the subject itself.
Canvas prints offer a completely different aesthetic experience. The texture of stretched canvas adds a tactile dimension that can either complement or compete with glass imagery depending on the specific shot. Abstract glass compositions with sweeping color gradients often look stunning on canvas because the texture adds visual complexity without interfering with the image's core impact. However, highly detailed glass shots with fine lines and sharp reflections may lose critical definition on canvas, making paper or acrylic a smarter choice. Metal prints are another compelling option for glass photography — the aluminum surface adds a natural luminosity and durability that aligns beautifully with the reflective nature of glass subjects, and they require no frame, giving a sleek, modern presentation.
Editing For Wall Display
Editing a photo for wall display is a fundamentally different task from editing for social media or screen viewing. The scale changes everything. Details that read as subtly beautiful on a phone screen might disappear entirely at wall size, while blemishes invisible at small scale become impossible to ignore when printed at 30 inches wide. For glass photography, the primary editing focus should be on light management — preserving the luminous quality of the glass while ensuring that the surrounding tones support rather than compete with the subject. This often means pulling back slightly on overall brightness to let the brightest glass elements truly sing.
Sharpening requires particular attention when preparing glass images for large prints. The edges where glass meets background, where reflections create linear patterns, and where light beams cut through the frame are all areas where controlled sharpening adds significant impact. Use a technique called high-radius, low-amount sharpening for the overall image to enhance edge contrast without introducing halos, then apply targeted sharpening to the key structural elements of the composition. Avoid over-sharpening the smooth tonal gradients that often appear in glass shots — these areas benefit from a smooth, clean look that excessive sharpening will ruin with noise and artifacts.
Abstract Versus Literal Prints
Glass photography sits naturally on the boundary between representational and abstract art, and deciding which direction to push your image is one of the most consequential choices in the wall art process. A photograph of a wine glass that clearly reads as a wine glass tells one story. The same image cropped tightly to show only the refracted light pattern inside the bowl tells a completely different story — one that might resonate more powerfully as wall art because it invites interpretation rather than immediate recognition. The abstract approach tends to age better on walls, maintaining visual interest over years because viewers continue to find new things within the image.
That said, representational glass photography has its own powerful place in wall art. A beautifully composed image of glass objects — bottles on a windowsill, glassware in a kitchen, architectural glass in a building facade — carries narrative content that pure abstraction cannot provide. These images connect to everyday experience while elevating it, showing familiar objects transformed by photography into something worth contemplating. The choice between abstract and representational ultimately comes down to the intended environment and audience. Commercial spaces often benefit from the universally accessible quality of representational art, while personal living spaces frequently reward the more personal, open-ended quality of abstraction.
Sizing For Your Space
Getting the size right is perhaps the most practically important decision in the wall art process, and it is surprisingly common to see beautiful prints undermined by being too small for their intended wall. A general principle of wall art display is that the piece should occupy between two-thirds and three-quarters of the available wall width above a piece of furniture, or stand confidently on an empty wall as a statement piece. For glass photography, which thrives on intricate detail and subtle tonal variation, going larger is almost always the right choice — the detail that makes the image compelling needs room to breathe and be discovered by the viewer.
Using painter's tape to mock up the intended print dimensions on your wall before ordering is a simple but highly effective technique. Cut pieces of tape to the exact dimensions of your planned print and step back to evaluate the proportions. This two-minute exercise regularly prevents expensive sizing mistakes. For multi-image gallery walls using glass photography, consider mixing one large anchor print — perhaps 24 by 30 inches — with several smaller companion pieces that share a color palette or thematic connection. This arrangement creates visual hierarchy while allowing you to display more of your best shots in a cohesive, professionally styled presentation.
Gallery Wall Arrangement Ideas
Arranging multiple glass photographs into a cohesive gallery wall requires both an artistic eye and a systematic approach. The most successful gallery walls share a unifying visual thread — whether that is a consistent color palette, a recurring formal element like circular shapes or diagonal lines, or a thematic connection between the subjects. For glass photography collections, the natural unifying element is often the light behavior itself: a wall featuring images all unified by a warm amber light quality, or a collection where all shots feature cool blue tones and geometric refraction patterns, will feel intentional and curated rather than random.
Start your arrangement planning on the floor before touching a single nail. Lay your prints out and experiment with different configurations, paying attention to visual weight balance and the flow of the eye between images. Heavier, darker compositions should generally anchor the arrangement — typically at the lower center — while lighter, airier images can float toward the edges and upper areas. Maintain consistent spacing between frames for a formal, structured look, or vary the gaps slightly for a more relaxed and organic feel. Once you have an arrangement you love, photograph it on the floor and use that reference image while hanging to replicate the configuration accurately on the wall.
Frame Selection Strategy
Frames are not neutral containers — they actively participate in the presentation of your art, and choosing wrongly can diminish even the finest print. For glass photography, which is inherently modern and often abstract, minimalist frames tend to serve the work better than ornate ones. Thin metal frames in black, silver, or warm gold allow the image to dominate the presentation. Floating frames — where the print appears to sit within the frame with a small gap of visible mat — work beautifully for glass photography because the slight spatial separation reinforces the sense of depth that is already present in the image.
The relationship between frame finish and image color palette deserves careful consideration. A glass photograph dominated by warm amber and honey tones will harmonize naturally with warm gold or dark walnut wood frames, while cool-toned images featuring blue and silver reflections typically look best with brushed silver or matte black metal frames. For a gallery wall with multiple pieces, maintaining consistent framing materials across all prints creates a unified, professional appearance. If you want to introduce variety, vary the sizes rather than the frame style — this keeps the wall feeling cohesive while adding visual interest through scale contrast.
Mounting Without Frames
Frameless mounting options have become increasingly popular for wall art and are particularly well suited to glass photography. Acrylic face mounting — where the print is bonded directly to the back of a sheet of clear acrylic — produces a visual effect that mirrors the reflective, luminous quality of the glass subject itself. The image appears to glow from within, with a depth and vibrancy that traditional paper-and-frame presentations cannot match. The acrylic surface catches and reflects ambient room light in a way that changes the image's appearance throughout the day, adding a dynamic quality that feels alive on the wall.
Direct aluminum mounting, where the print is bonded to a rigid aluminum panel, offers a sleeker and slightly more matte alternative to acrylic. The clean edges and absence of frame hardware give these pieces a contemporary, gallery-quality appearance that works beautifully in modern interiors. Float-mount installation, where the piece hangs slightly away from the wall on concealed hardware, enhances this effect by adding actual depth — the panel casts a subtle shadow on the wall behind it, creating a three-dimensional quality that makes the piece feel more like sculpture than conventional wall art. For glass photography specifically, this shadow effect adds an appropriate layer of visual complexity.
Lighting Your Displayed Art
How you light the finished wall art piece matters almost as much as the print quality itself. Glass photography, with its inherent luminosity and reflective qualities, responds dramatically to gallery lighting. Picture lights — small fixtures that mount directly above the frame — are the traditional approach and work well for framed pieces, casting warm light downward across the surface. For acrylic or metal-mounted prints, however, directly positioned fixtures can create glare that interferes with the image. For these materials, softer ambient lighting or off-axis spotlights that illuminate from an angle are more effective.
LED track lighting offers the most versatile solution for illuminating glass photography wall art in living spaces. Adjustable heads allow you to fine-tune the angle precisely, minimizing reflections while maximizing the illumination of the image itself. For a dramatic gallery effect, consider lighting your glass art pieces with warmer-toned bulbs (around 2700K to 3000K color temperature) that add a golden quality to the light and enhance the warmth within the image. Avoid placing glass photography prints directly opposite large windows, as natural light from behind the viewer can wash out the image and introduce competing reflections, particularly on glossy and acrylic surfaces.
Room and Style Pairing
Matching your glass photography wall art to its intended room and interior style is not about rigid rules but about thoughtful harmony. In a minimalist interior defined by clean lines, neutral tones, and purposeful negative space, a large-format abstract glass print adds visual depth without introducing clutter. The complexity of the image satisfies the eye's need for something to study, while the clean mounting and simple framing maintain the room's spare aesthetic. Industrial spaces with exposed brick and metal elements pair naturally with glass photography that features hard geometric reflections, metallic surfaces, and high-contrast lighting.
In warmer, more traditional interiors, glass photography works best when the images themselves carry warmth — golden light through vintage glassware, soft morning light diffusing through textured window glass, or the warm amber of wine in a crystal glass catching candlelight. These subjects speak the same visual language as the interior's existing warmth and add to it rather than fighting against it. The key principle in any room pairing is identifying the dominant emotional quality of the space and selecting glass photography that amplifies rather than contradicts that quality. Art should feel like it belongs where it hangs, as if the room was always waiting for exactly that piece.
Outdoor and Commercial Display
Glass photography wall art is not limited to residential interiors — it has compelling applications in commercial and public spaces where durable, visually striking art is essential. Hospitality environments like hotels, restaurants, and bars frequently use large-format photography to establish atmosphere, and glass photography is particularly well suited to these settings because its visual complexity rewards the kind of prolonged exposure that occurs when people dine, wait, or relax in a space. For commercial installations, printing on materials with protective UV lamination is essential, as these environments typically have higher light exposure than residential settings.
Outdoor installations require specially treated materials that resist moisture, UV degradation, and temperature fluctuation. Aluminum and porcelain print surfaces are the most durable options for exterior display, and both can reproduce glass photography with impressive fidelity. A glass image mounted on an exterior wall — perhaps in a courtyard, covered walkway, or exterior feature wall — introduces an interesting conceptual dialogue between the transparent, light-dependent subject of the photograph and the solid, weatherproof materiality of its outdoor display. When properly protected and installed, these pieces can remain vibrant and striking for many years, becoming genuine landmarks within a built environment.
Printing at Home Options
Professional printing services deliver the highest quality results, but there is a meaningful and growing market for high-quality home printing of wall art. Modern large-format inkjet printers from manufacturers including Canon and Epson are capable of producing prints that rival professional lab output when paired with quality media and properly calibrated software. For glass photography specifically, using pigment-based inks rather than dye-based inks is strongly recommended — pigment inks offer superior light-fastness, meaning your prints will maintain their color accuracy for decades rather than fading within a few years when exposed to ambient light.
The investment in a professional-grade home printer makes financial sense only if you produce prints with consistent frequency. If you are printing a few pieces per year, the cost per print from a professional lab will almost certainly be lower than amortizing home equipment costs. However, for photographers who want immediate results, total control over the printing process, and the ability to iterate quickly on sizing and color, home printing offers real advantages. Pair your home printer with a hardware color calibration tool that profiles your specific monitor-to-printer workflow, and test your glass photography images on small proof prints before committing to expensive large-format media.
Building a Photography Series
Single statement pieces make a powerful impact, but a cohesive series of glass photography prints can transform an entire room and tell a richer visual story. A series approach involves selecting or shooting multiple glass images that share a formal or thematic connection — perhaps a progression from opaque to transparent materials, a sequence of the same glass object in different lighting conditions, or a collection of architectural glass details from a single building. Presented together as a unified body of work, these related images gain meaning from their relationships to each other that no single image could achieve alone.
When displaying a series, the spacing and arrangement become part of the artwork itself. Equal spacing between identically sized prints in a horizontal or vertical line creates a formal, sequential reading that emphasizes the series nature of the work. A more irregular arrangement of varying sizes creates a more dynamic and expressive presentation. For living spaces, consider commissioning or printing the series in a range of sizes — one large central piece flanked by medium-sized companions — which creates hierarchy within the series while maintaining its unified character. Series of glass photography work particularly well in spaces where people spend extended time, like living rooms and offices, because the depth of content rewards repeated viewing.
Care and Longevity Tips
Protecting your wall art investment requires a modest but consistent commitment to proper care. Glass photography prints on paper, even when framed behind glass, are vulnerable to moisture, UV light, and temperature fluctuations over time. Hanging prints on exterior walls — particularly walls that experience temperature cycling between seasons — creates micro-climate conditions that can cause paper to expand and contract, eventually leading to waviness or buckling. Interior walls are significantly better for preserving print quality over the long term, particularly walls that are not directly adjacent to heating or cooling vents.
Cleaning framed glass photography involves little more than wiping the frame surface with a dry or slightly damp cloth and avoiding any cleaning agents on the glass glazing that might leave residue. For acrylic-mounted prints, use a specialized plastic cleaner and a very soft microfiber cloth to avoid scratching the surface — acrylic is considerably more susceptible to surface scratches than glass. If you notice dust accumulating on the surface of an unframed canvas or metal print, use a very soft brush or clean compressed air to remove it rather than wiping, which can redistribute dust and occasionally cause fine surface marks. With proper placement and basic maintenance, high-quality glass photography wall art should remain vibrant and beautiful for many years.
Conclusion
The journey of transforming your glass photographs into genuine wall art is one of the most rewarding creative processes available to any photographer, whether amateur or professional. What begins as a digital file — perhaps one of hundreds sitting untouched in a folder on your hard drive — ends as a physical presence in your living environment, something that catches the light differently throughout the day, that visitors stop to examine, and that you yourself continue to notice and appreciate months and years after installation. Glass photography possesses qualities that are uniquely suited to this transformation: its inherent luminosity, its interplay between transparency and reflection, and its capacity for visual complexity that rewards close attention all translate magnificently to print and display.
Throughout this article, you have seen that the process involves far more than simply uploading a file to a printing service and choosing a size. It begins with critical image evaluation, asking honestly whether a given shot has the resolution, compositional strength, and visual staying power to succeed at wall scale. It continues through thoughtful editing decisions that preserve the luminous quality of light through glass while preparing the file for the specific demands of physical printing. Material choices — whether paper, canvas, metal, or acrylic — each bring their own relationship to the light-forward nature of glass photography, and selecting the right medium for each image is itself a creative decision that shapes the final impact significantly.
Display decisions compound the creative choices made earlier in the process. Frame selection, mounting style, wall positioning, and artificial lighting all actively participate in how the finished piece is perceived and experienced. A glass photograph printed on acrylic and float-mounted with gallery track lighting is experiencing a completely different presentation than the same image printed on fine art matte paper in a warm walnut frame lit by a picture light — and both presentations can be correct, depending on the context, the room, and the emotional quality you want the piece to carry.
Beyond individual pieces, the possibility of cohesive series and gallery wall arrangements offers an even richer opportunity for glass photography to inhabit your space. A thoughtfully assembled collection of related images, unified by light quality, color palette, or formal elements, creates a visual environment that goes far beyond decoration. It becomes a curated environment that reflects your particular way of seeing, your sensitivity to the quiet drama of light through glass, your ability to find beauty in transparency and reflection that most people walk past without noticing.
The most important step is the one most often avoided: actually printing the work. The best camera and the most beautiful photographs produce no art while they remain locked in digital storage. Commit to the process, invest in quality materials, take the time to make thoughtful decisions about presentation, and give your glass photography the physical presence it deserves. Your walls — and everyone who inhabits the spaces those walls define — will be genuinely enriched by what you create.